If you’re recording a live concert, your band’s rehearsals, capturing audio for video and your audio signals are going up to the maximum levels on the meters, then the audio recorded into the Zoom H1 will most likely distort and clip.
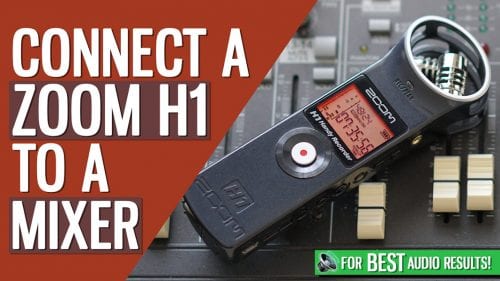
In this article, I will show you how to best connect a Zoom H1 to a Mixer WITHOUT clipping the audio.

Your videos are great, straight to the point and clear to understand, this was exactly what I was looking for!

Thanks for the video!I need to record from a mixer to my Zoom H1n next month.This attenuation cable should do the trick!

I’ve been trying to figure this out for quite some time. Thank you for the easy to follow guide. straight to the point
[su_heading style=”flat-dark” size=”30″ margin=”0″]AUDIO CLIPPING AND WHAT CAUSES IT[/su_heading]
If you’ve ever tried to connect a Zoom H1 to a Mixer and after checking the recorded audio it sounded like utter garbage, it might be because your audio has distorted or clipped in the process.
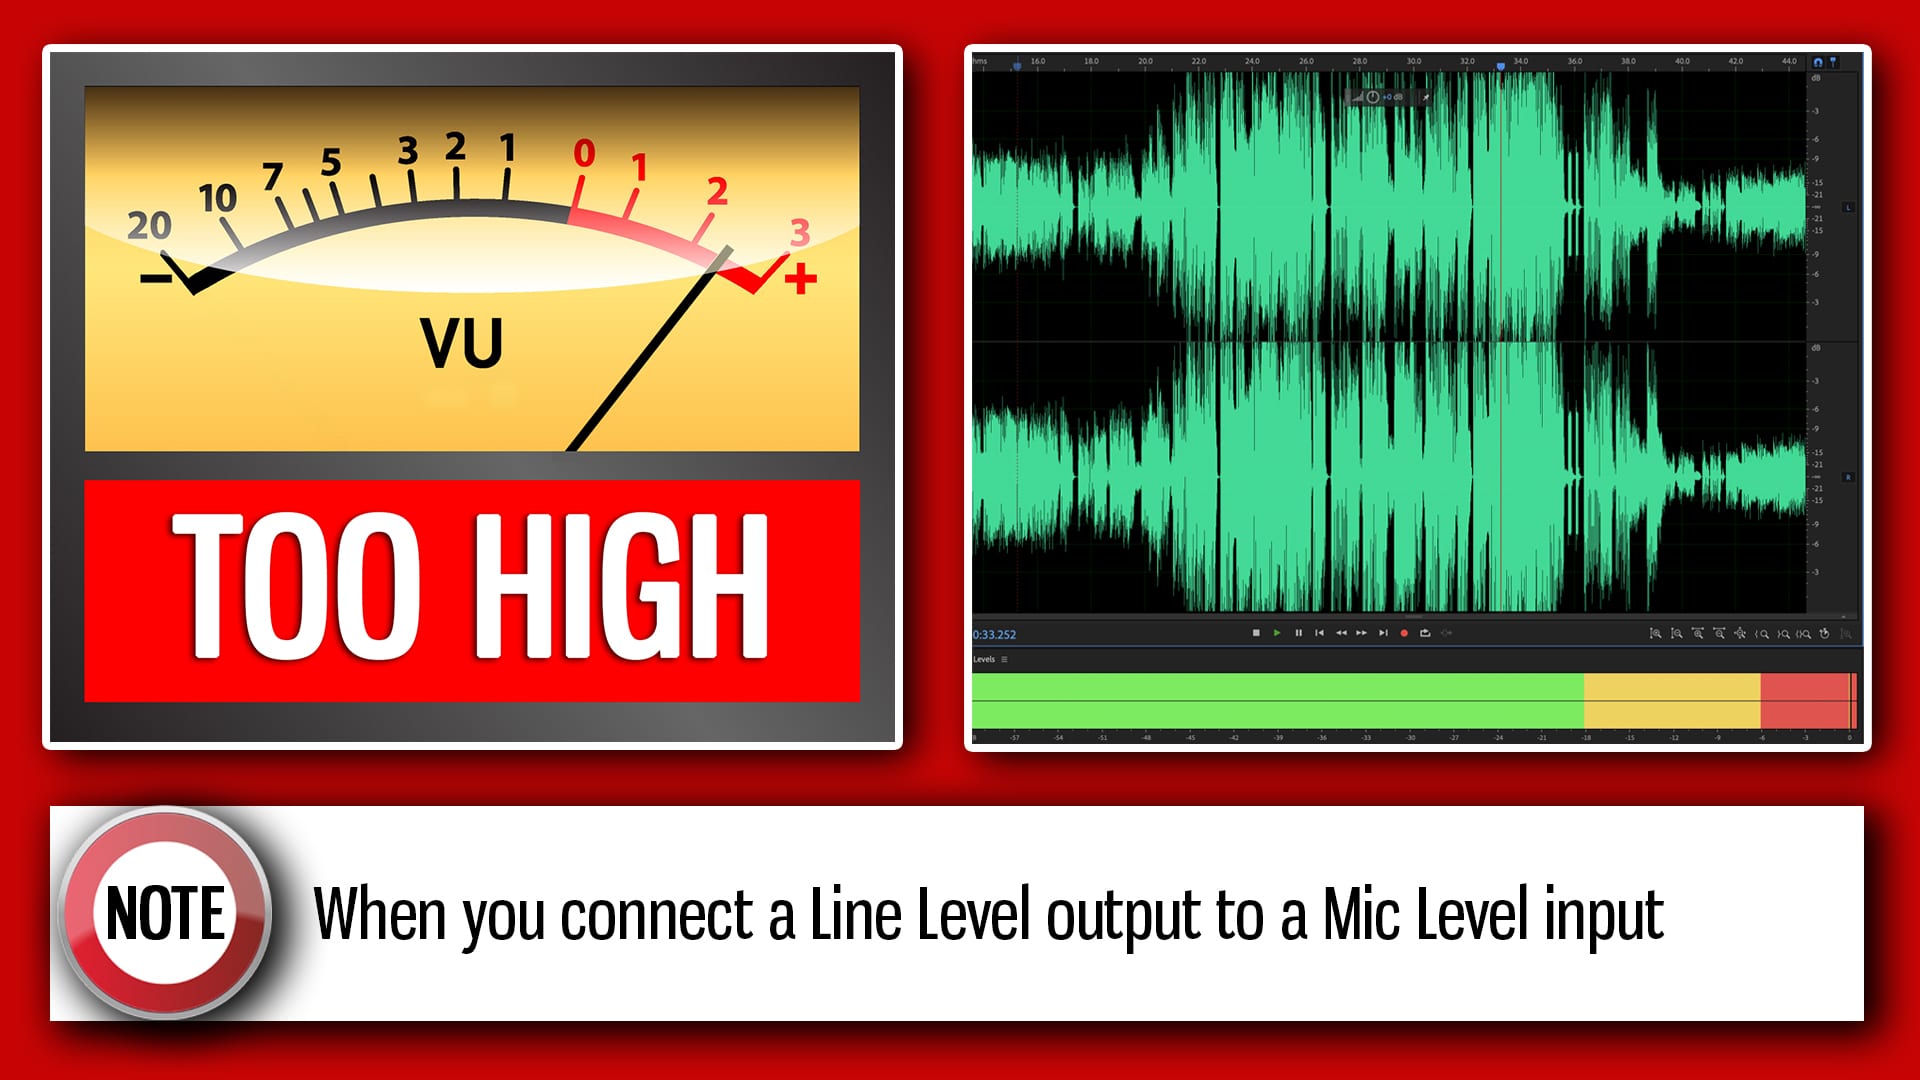
Audio Clipping occurs when the output signal of an audio device is pushed beyond it’s maximum decibel range resulting in the
audio being overdriven.
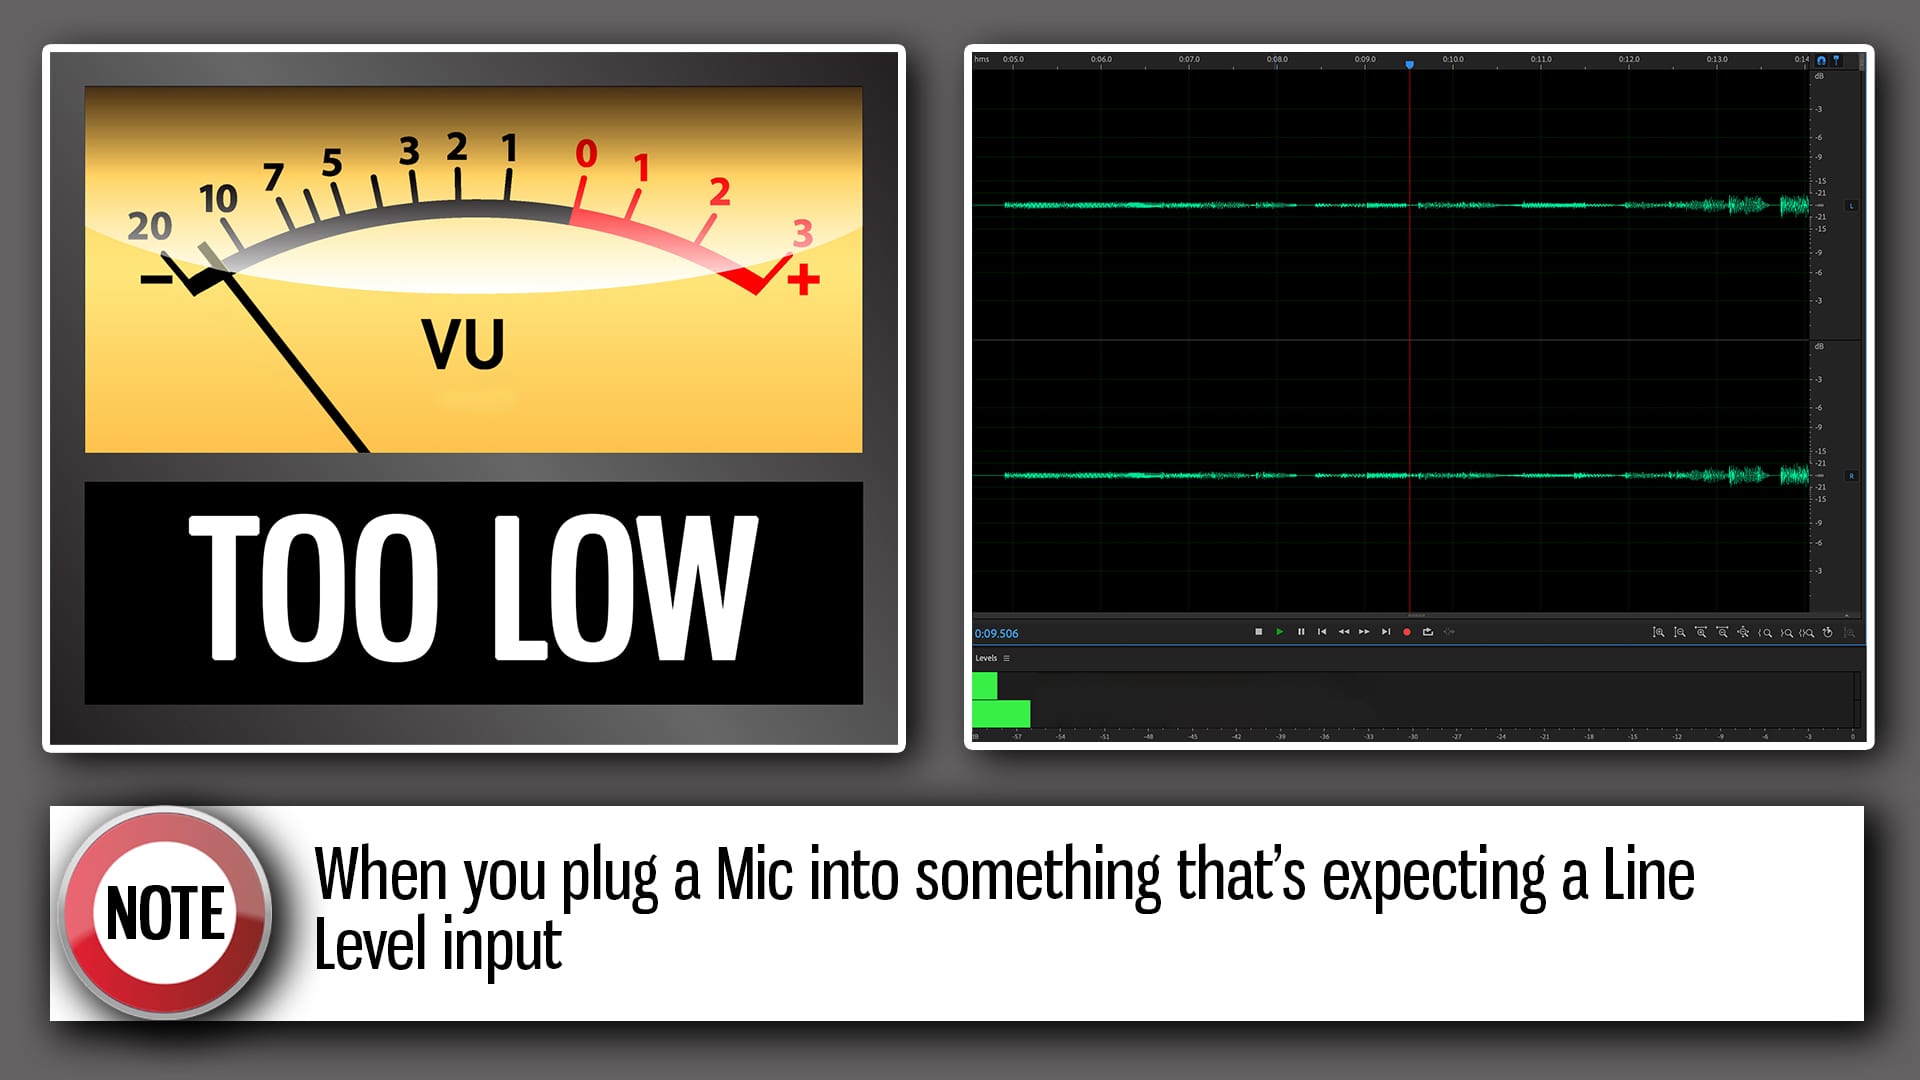
This can be seen on digital or analog meters of your audio device. Essentially the signal “cuts” or “clips” when the audio signal hits it’s maximum capacity. See Waveform images below.
[su_heading style=”flat-dark” size=”30″ margin=”0″]HOW TO FIX THIS[/su_heading]
[su_highlight background=”#a5190b” color=”#ffffff”]ANSWER[/su_highlight] With an Attenuation cable
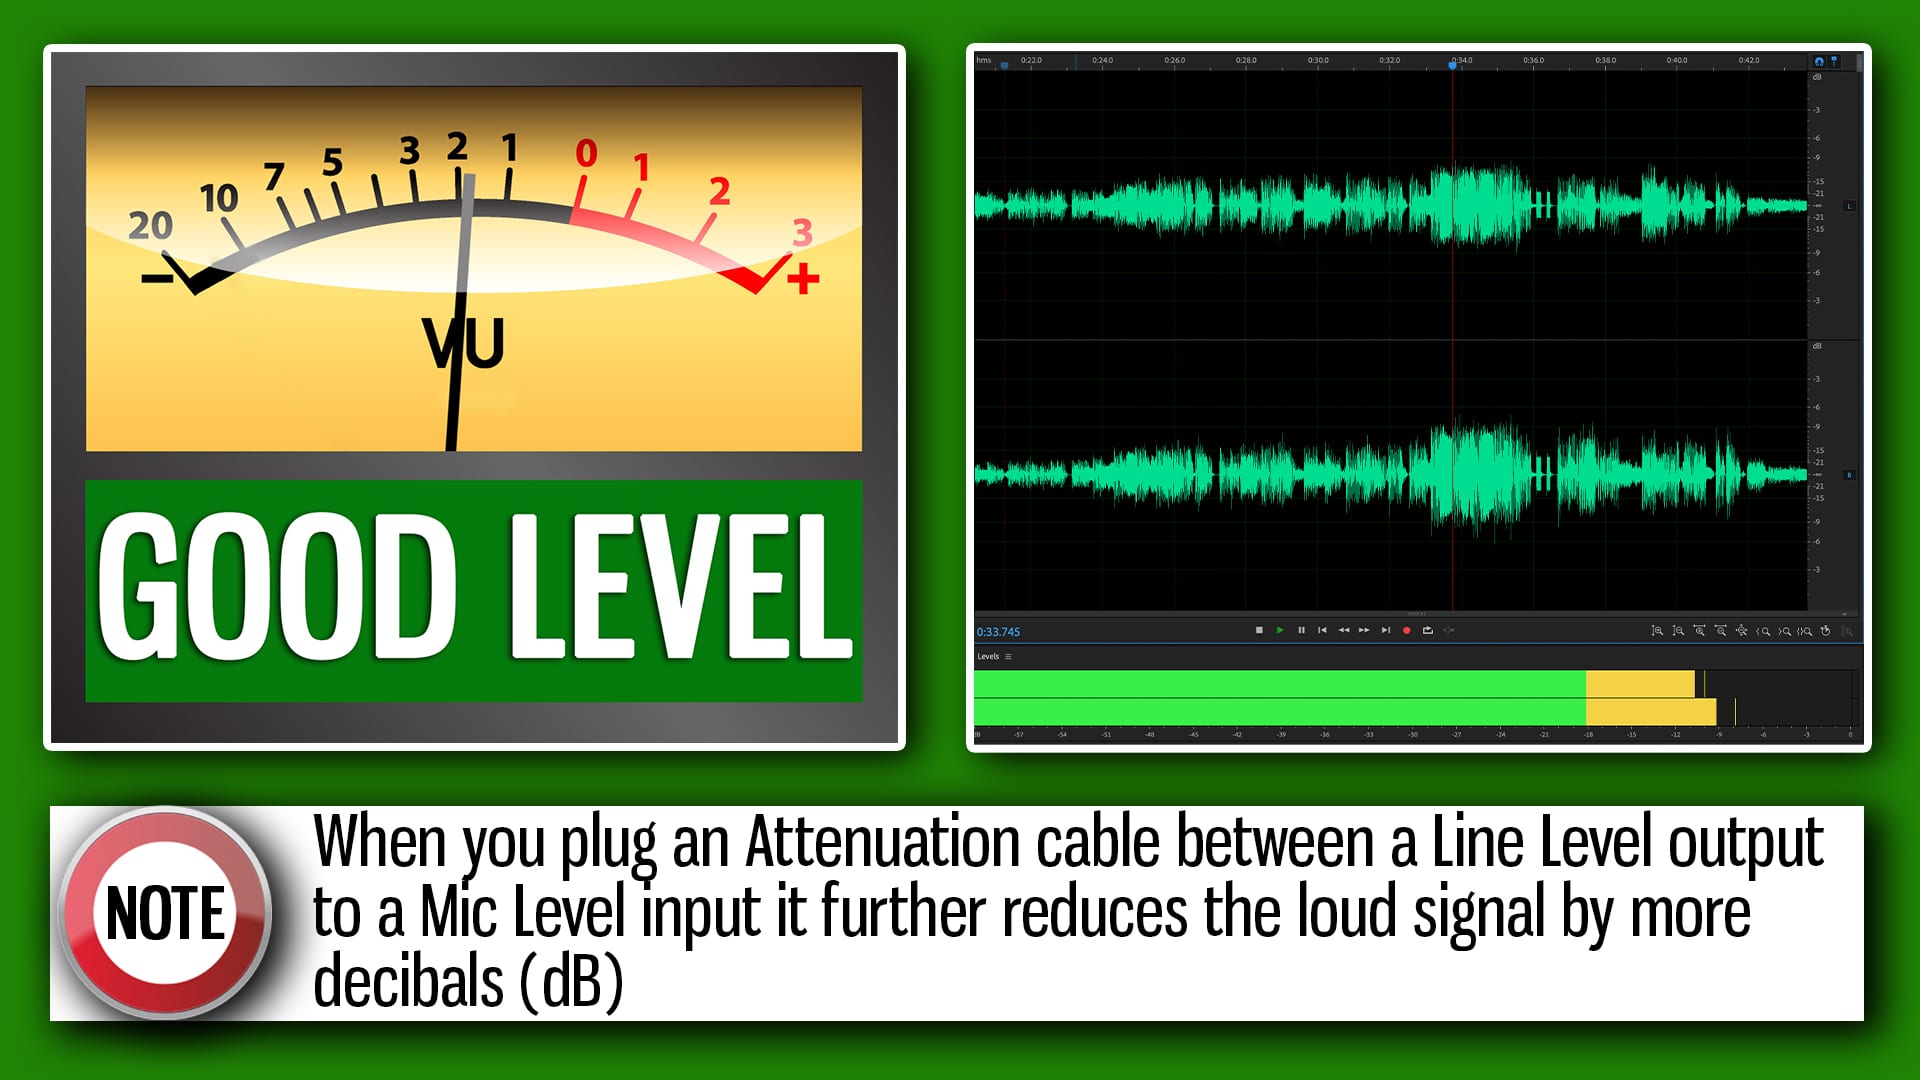
Attenuation, or Audio Attenuation, is essentially the lowering of volume of sound and is defined in a number in decibels, This reduction in the wave amplitude really helps if you’ve connected a Line Level output to a Mic input as seen on the image above. I’m constantly reading questions on forums from people confused about recording a music band, like this thread. The process is fairly straightforward after reading this article.
Below you will see what the waveform amplitude looks like when an Attenuation cable is connected.
[su_heading style=”flat-dark” size=”24″ margin=”0″]STEPS FOR CONNECTING THE ZOOM H1 TO A MIXER[/su_heading]

 Connect RCA cable to Mixer
Connect it to the Tape Out

Connect RCA cable to Mixer
Connect it to the Tape Out

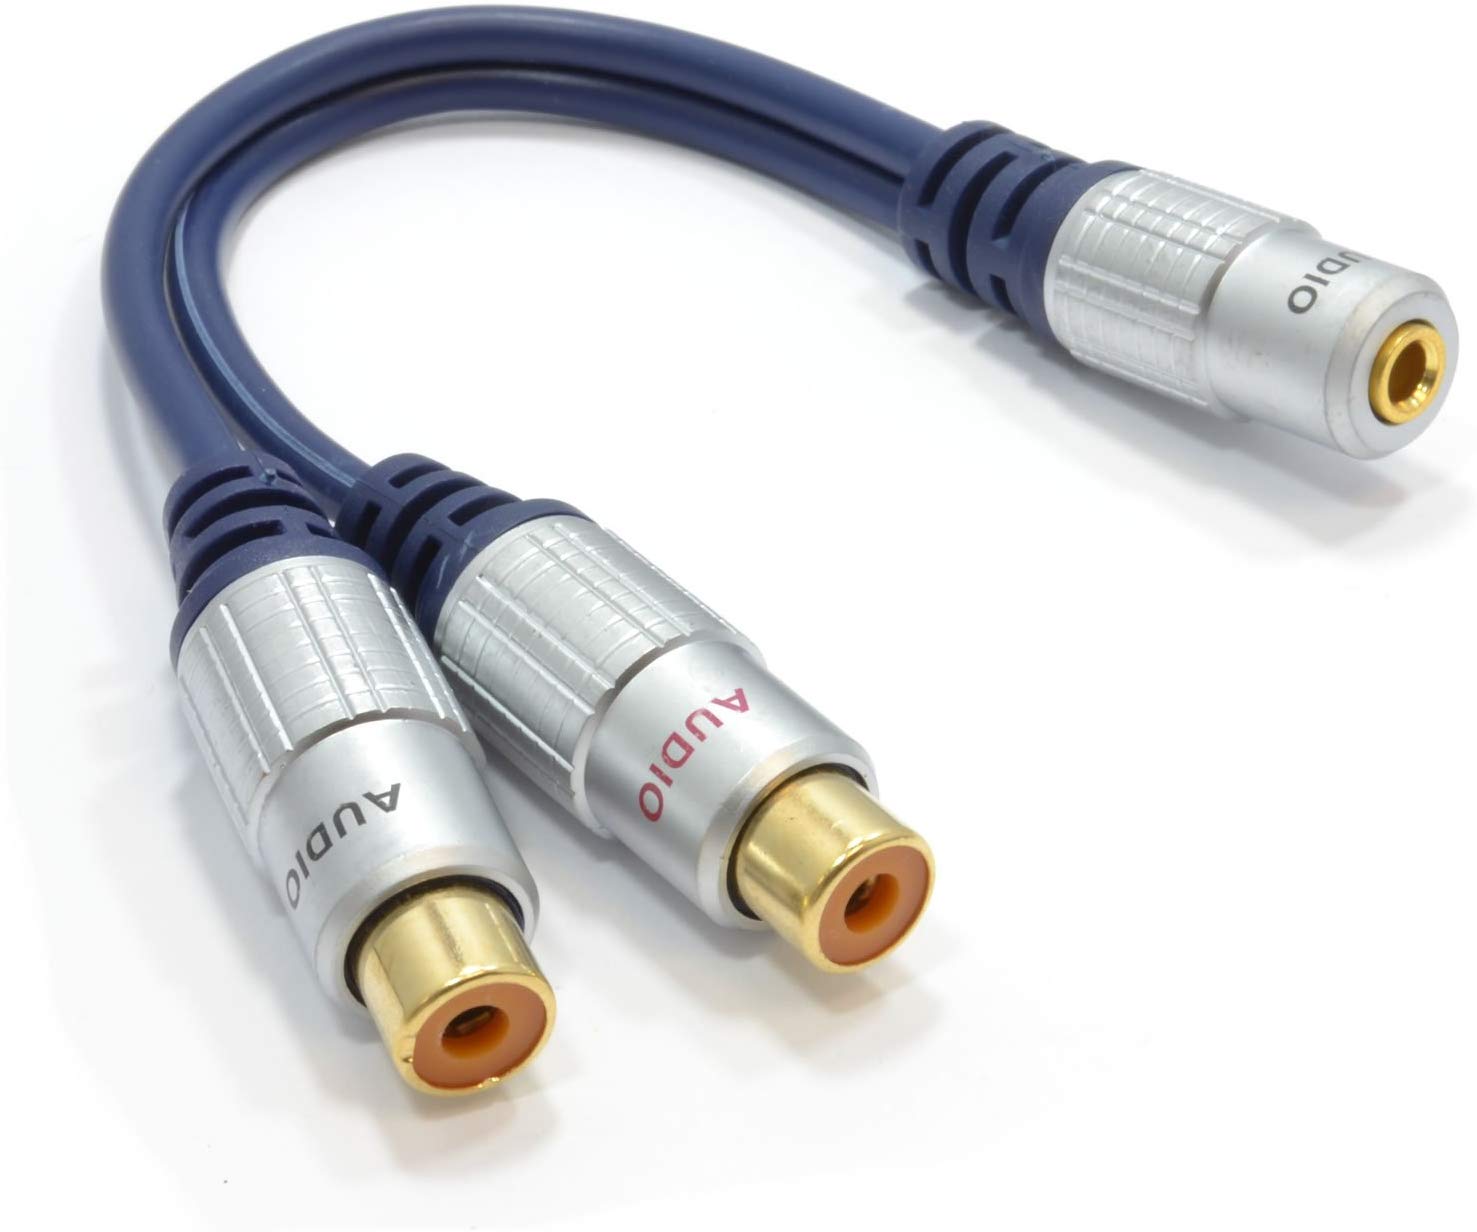
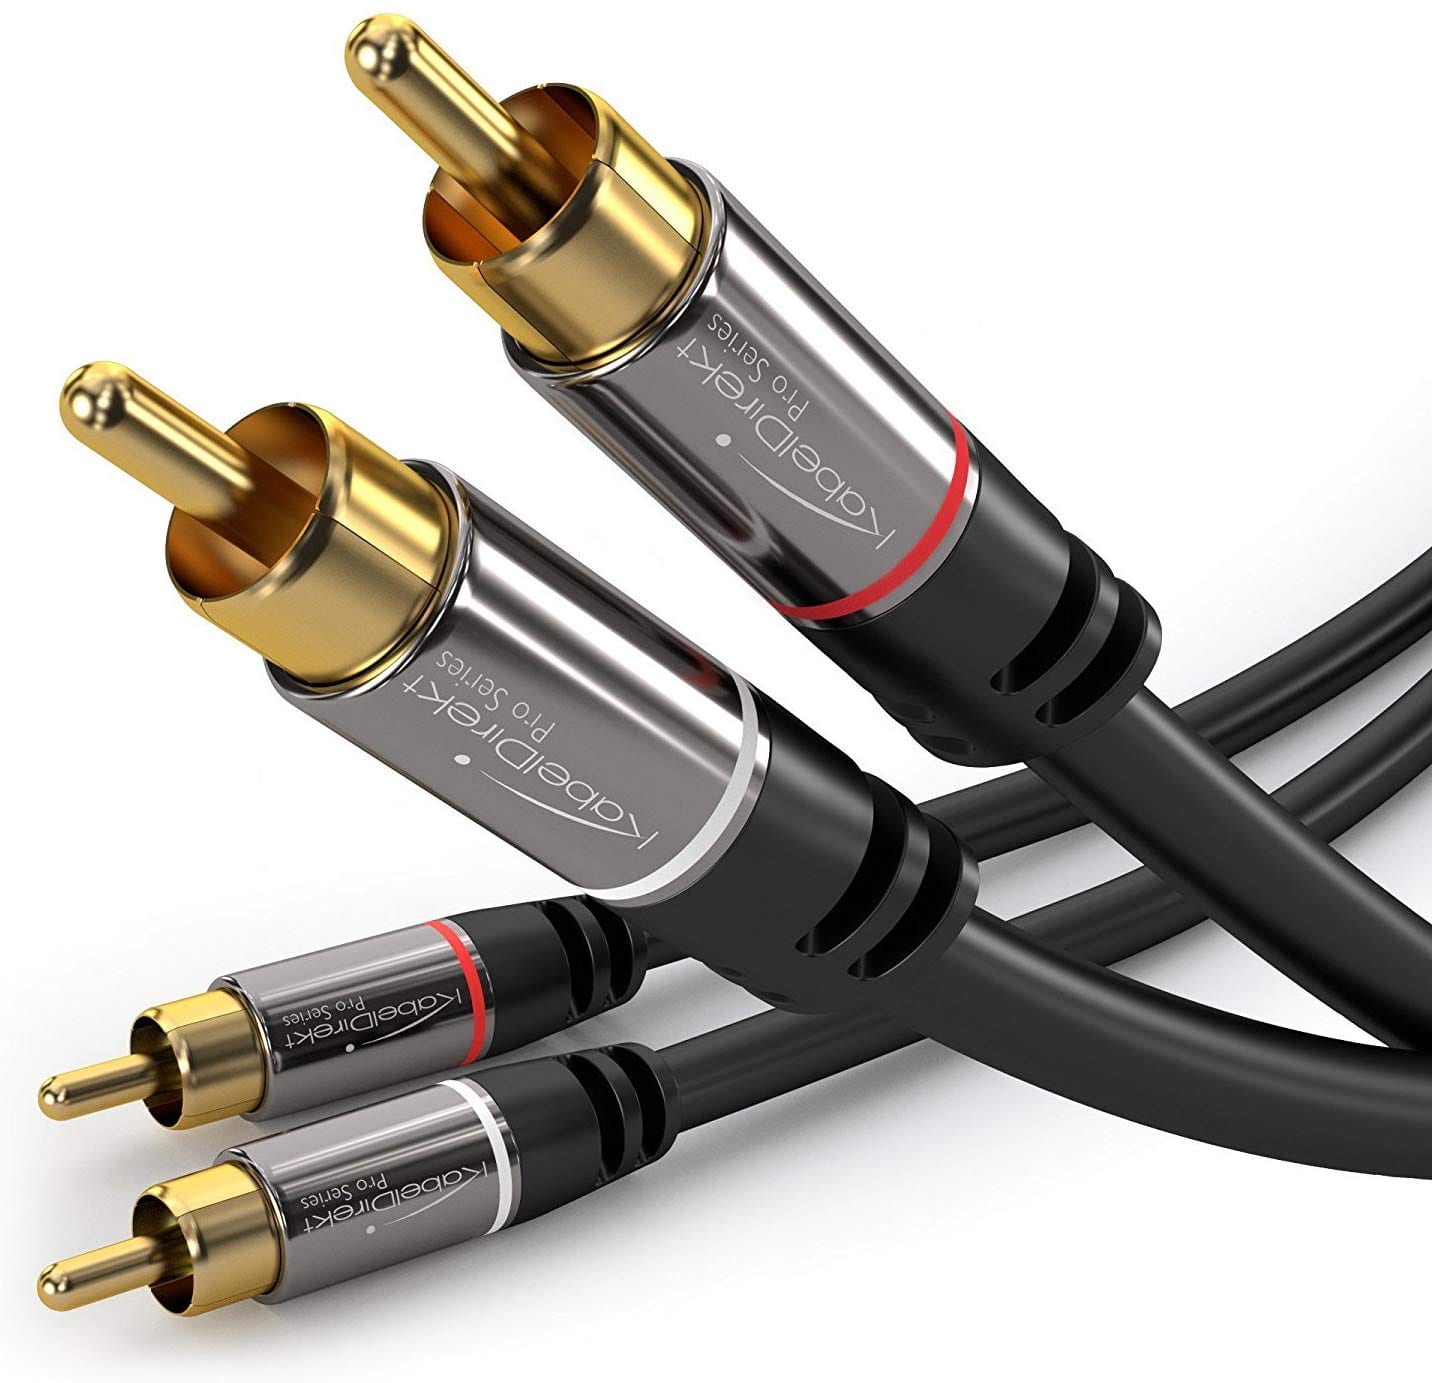
Connect the other ends of the RCA cable to a Y-Splitter / RCA Adapter cable
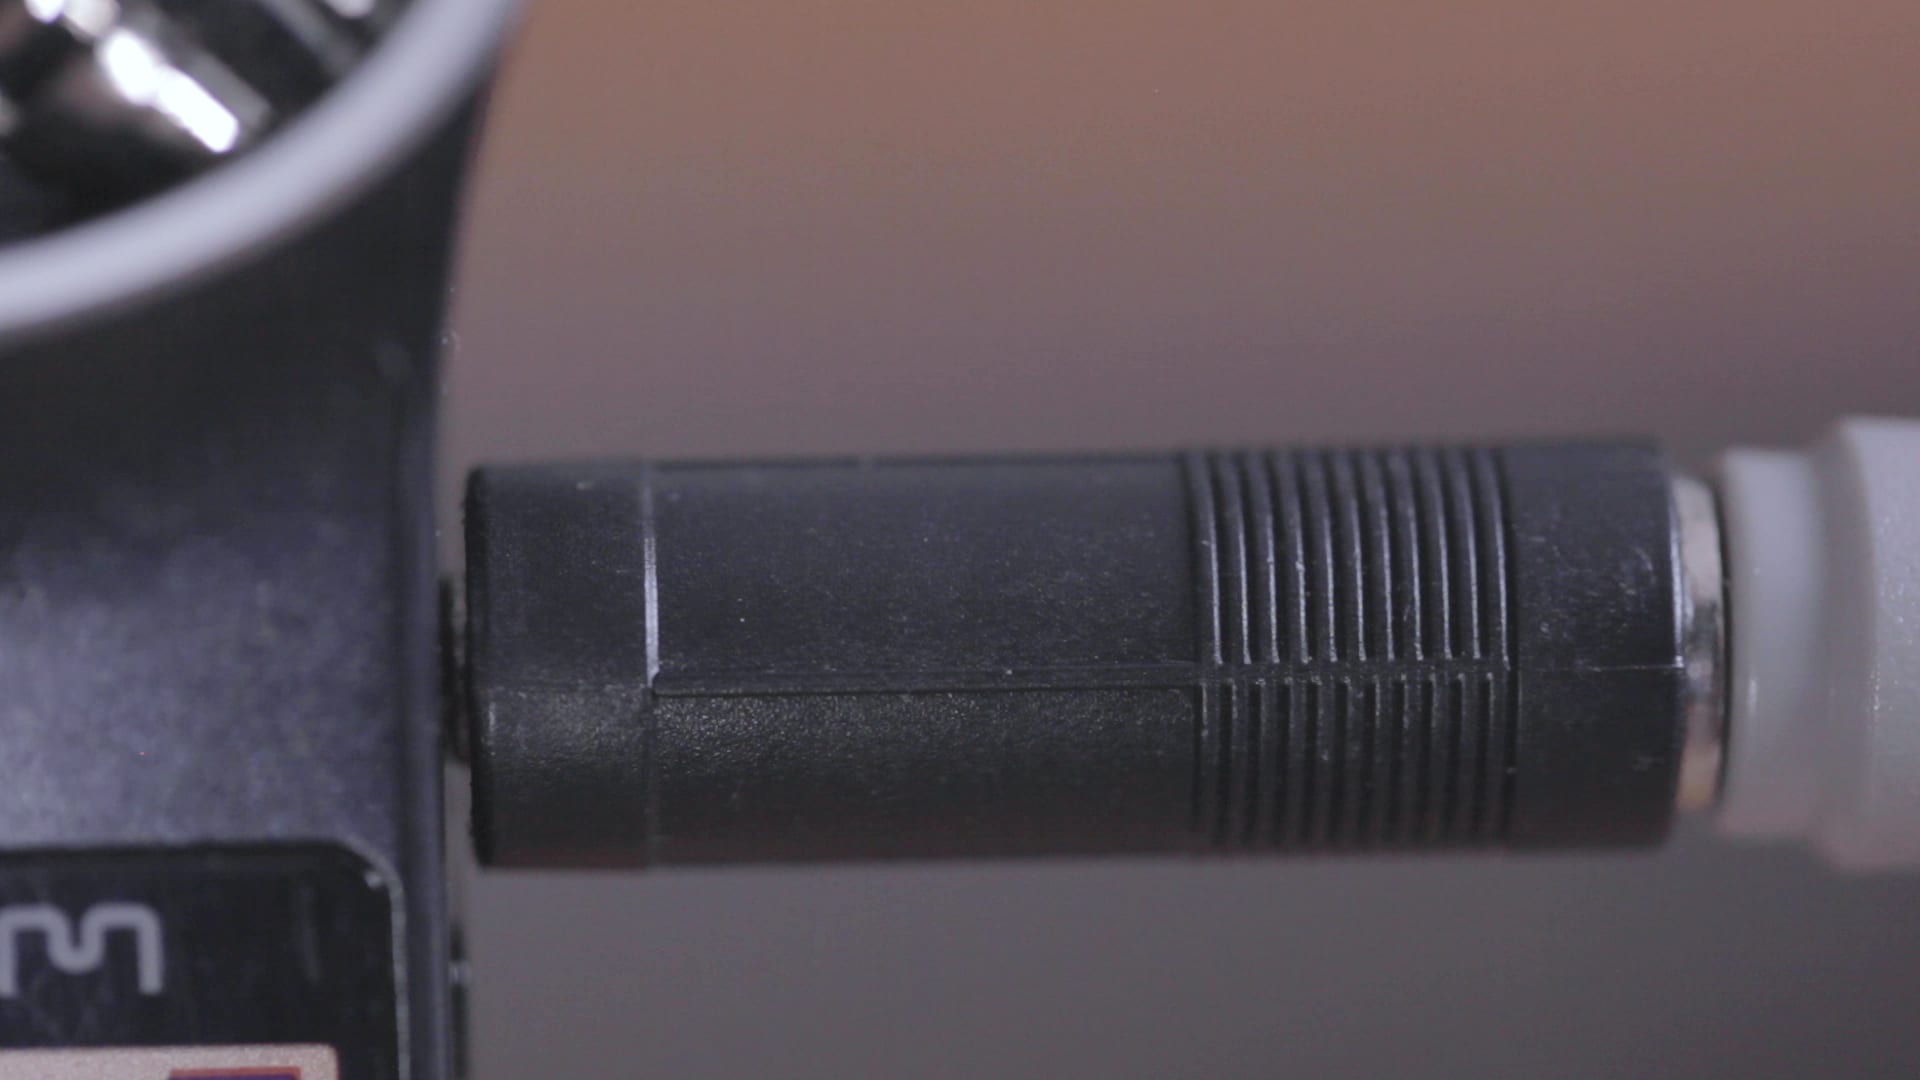
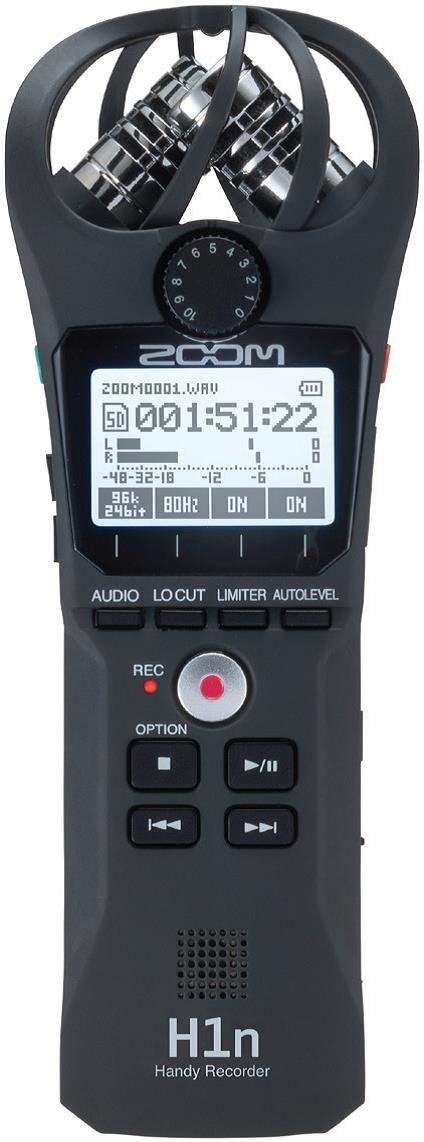
 Insert this into the Line / Mic In of the Zoom H1
Get ready to test this and be prepared for disappointment!
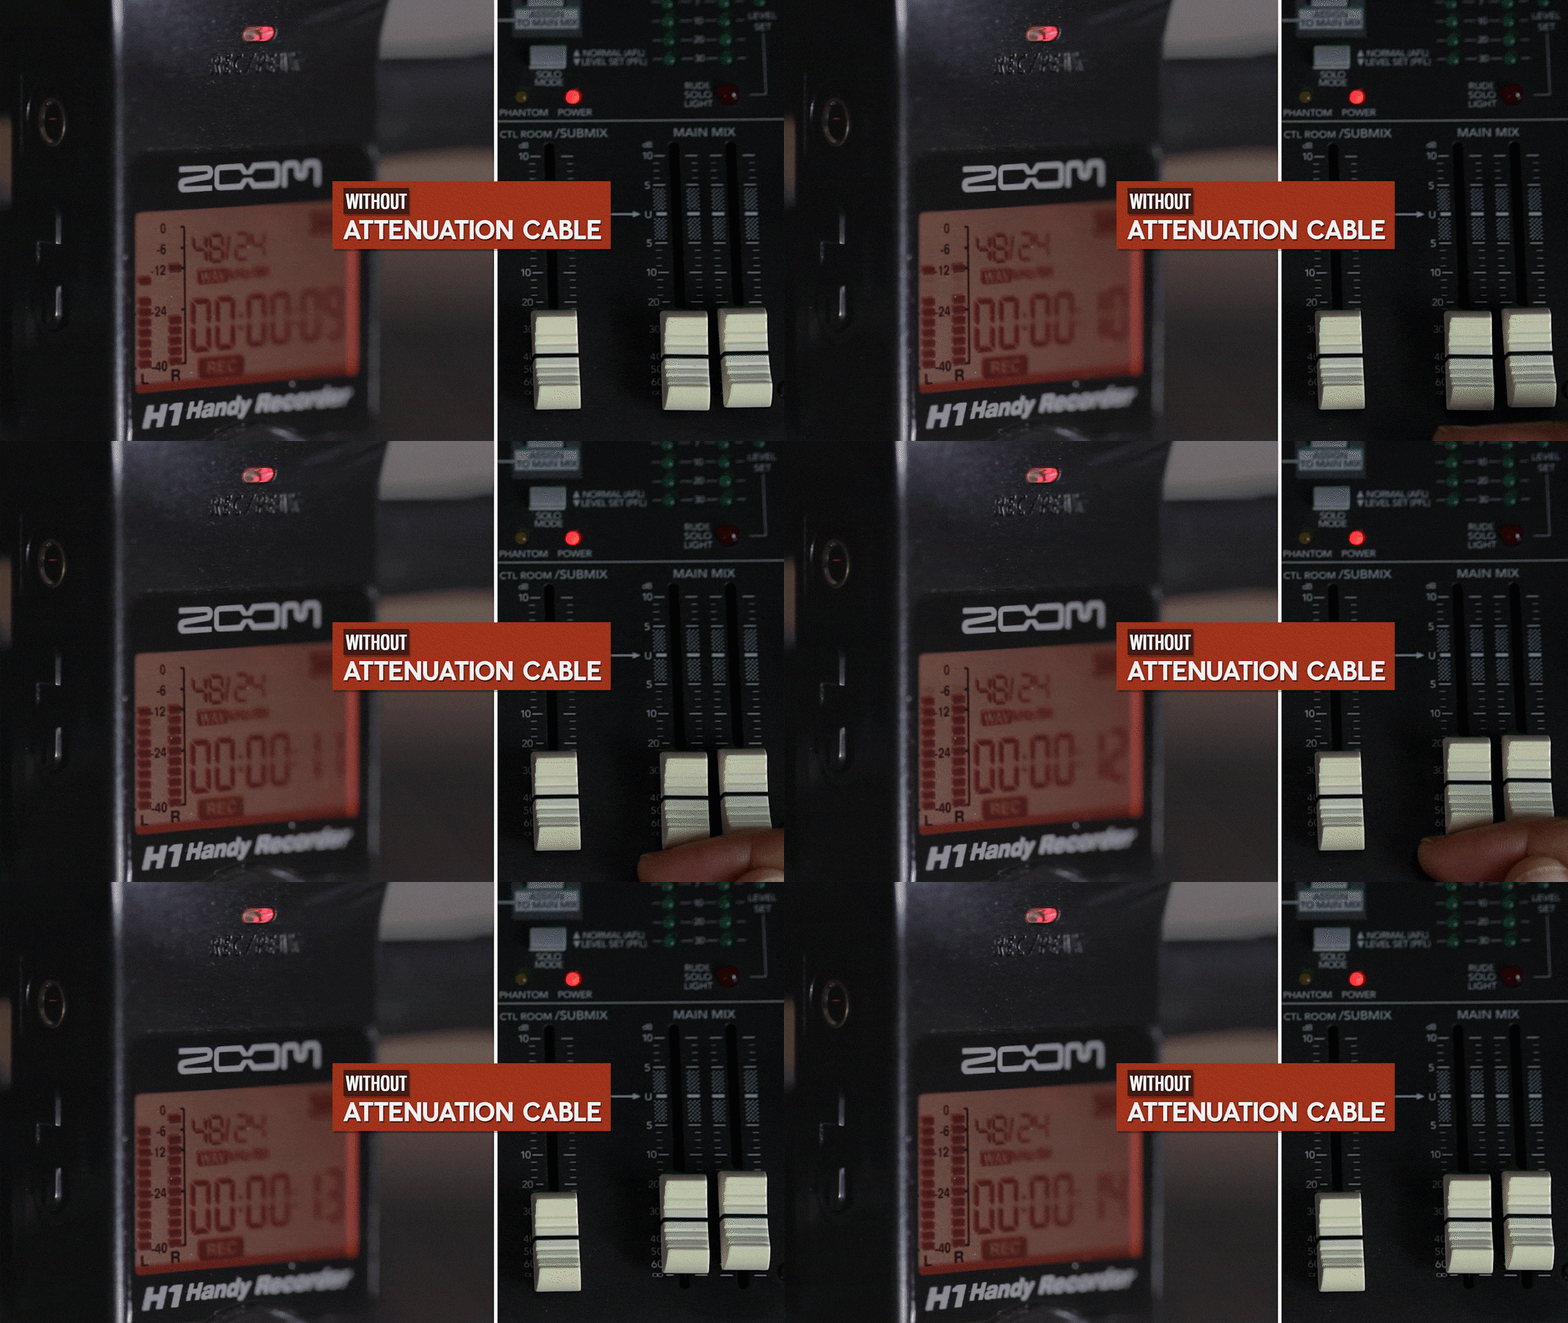
 The Input levels on the Zoom H1 are ready to clip
The Microphone Input is connected to the Mixer’s Line Output. This will always result in clipped / distorted audio. See section above on Audio Clipping
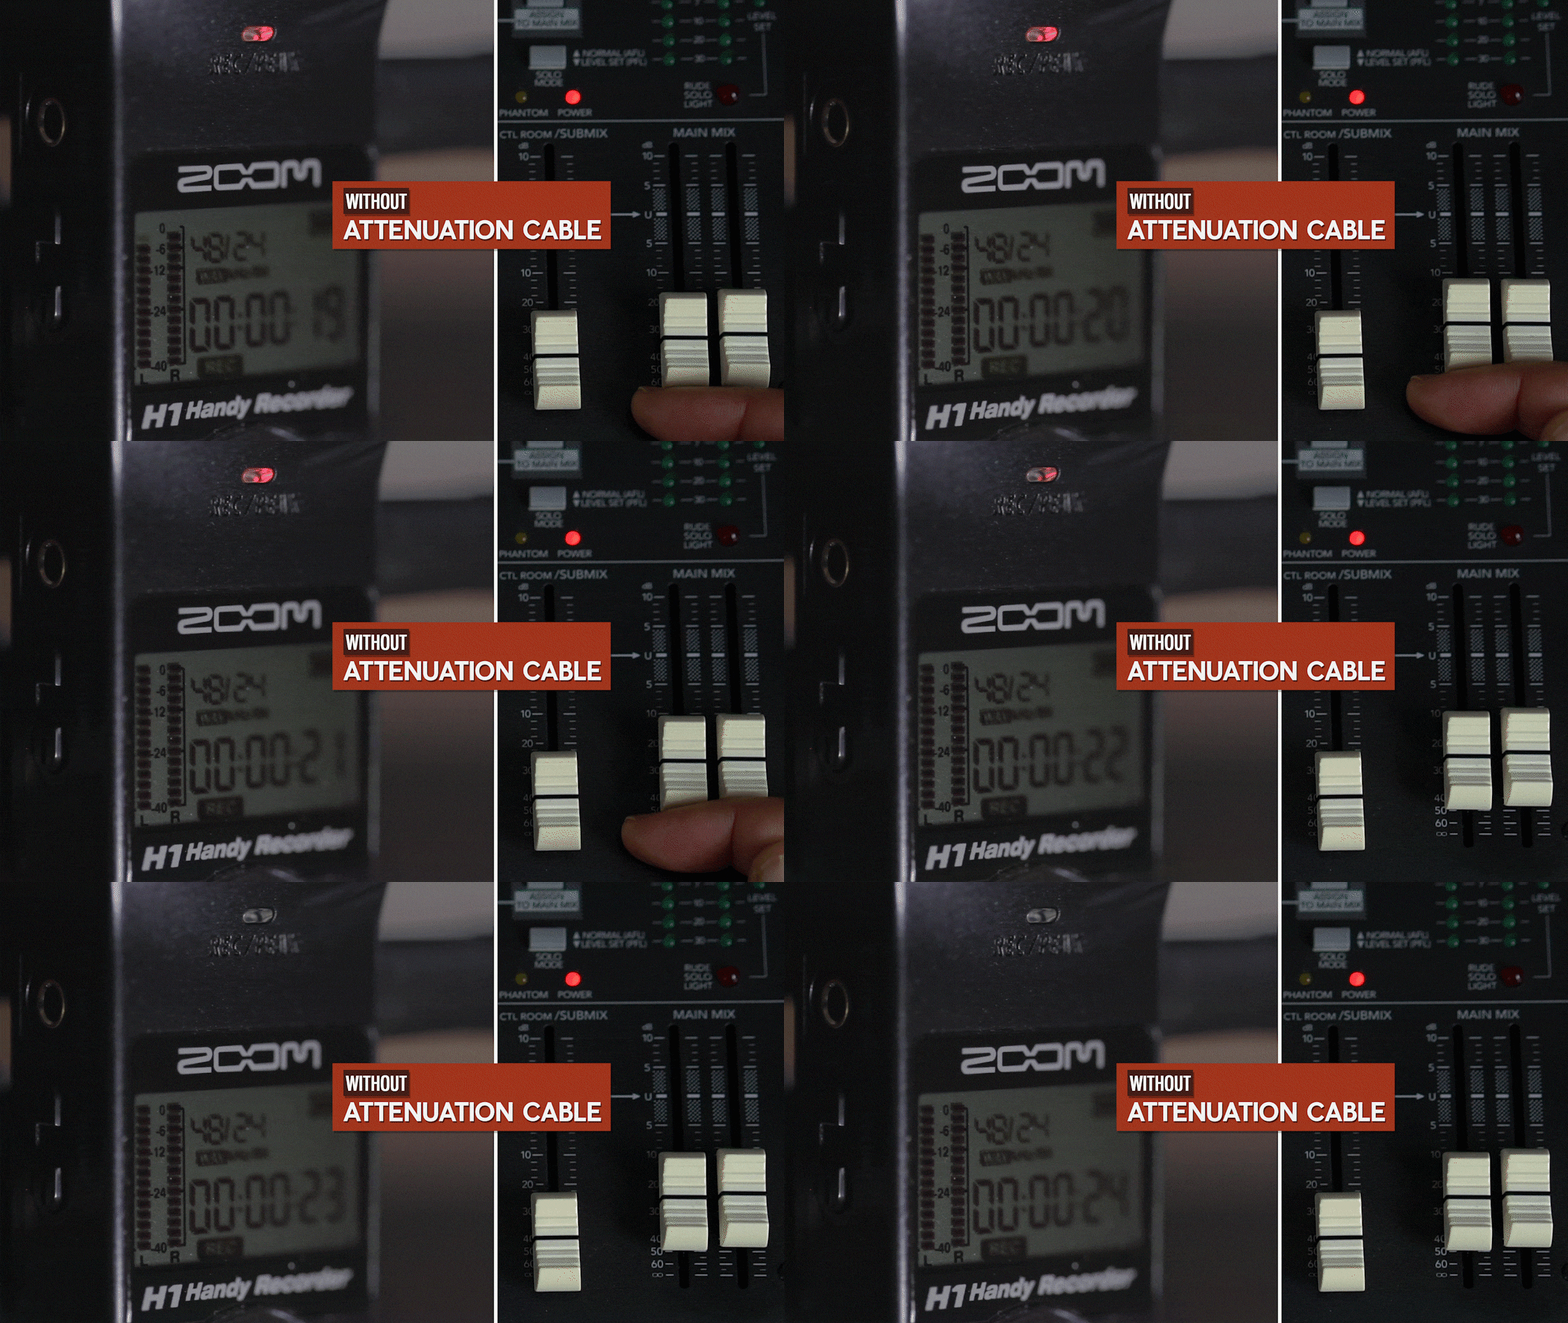
The Input levels on the Zoom H1 are now clipping
Note the flashing red light. See section above on Audio Clipping

Clipped Audio
This will always happen when a Microphone Input is connected to a Mixer’s Line Output.
To read about how to Connect a Zoom H4n to a Mixer click here OR click on the image below
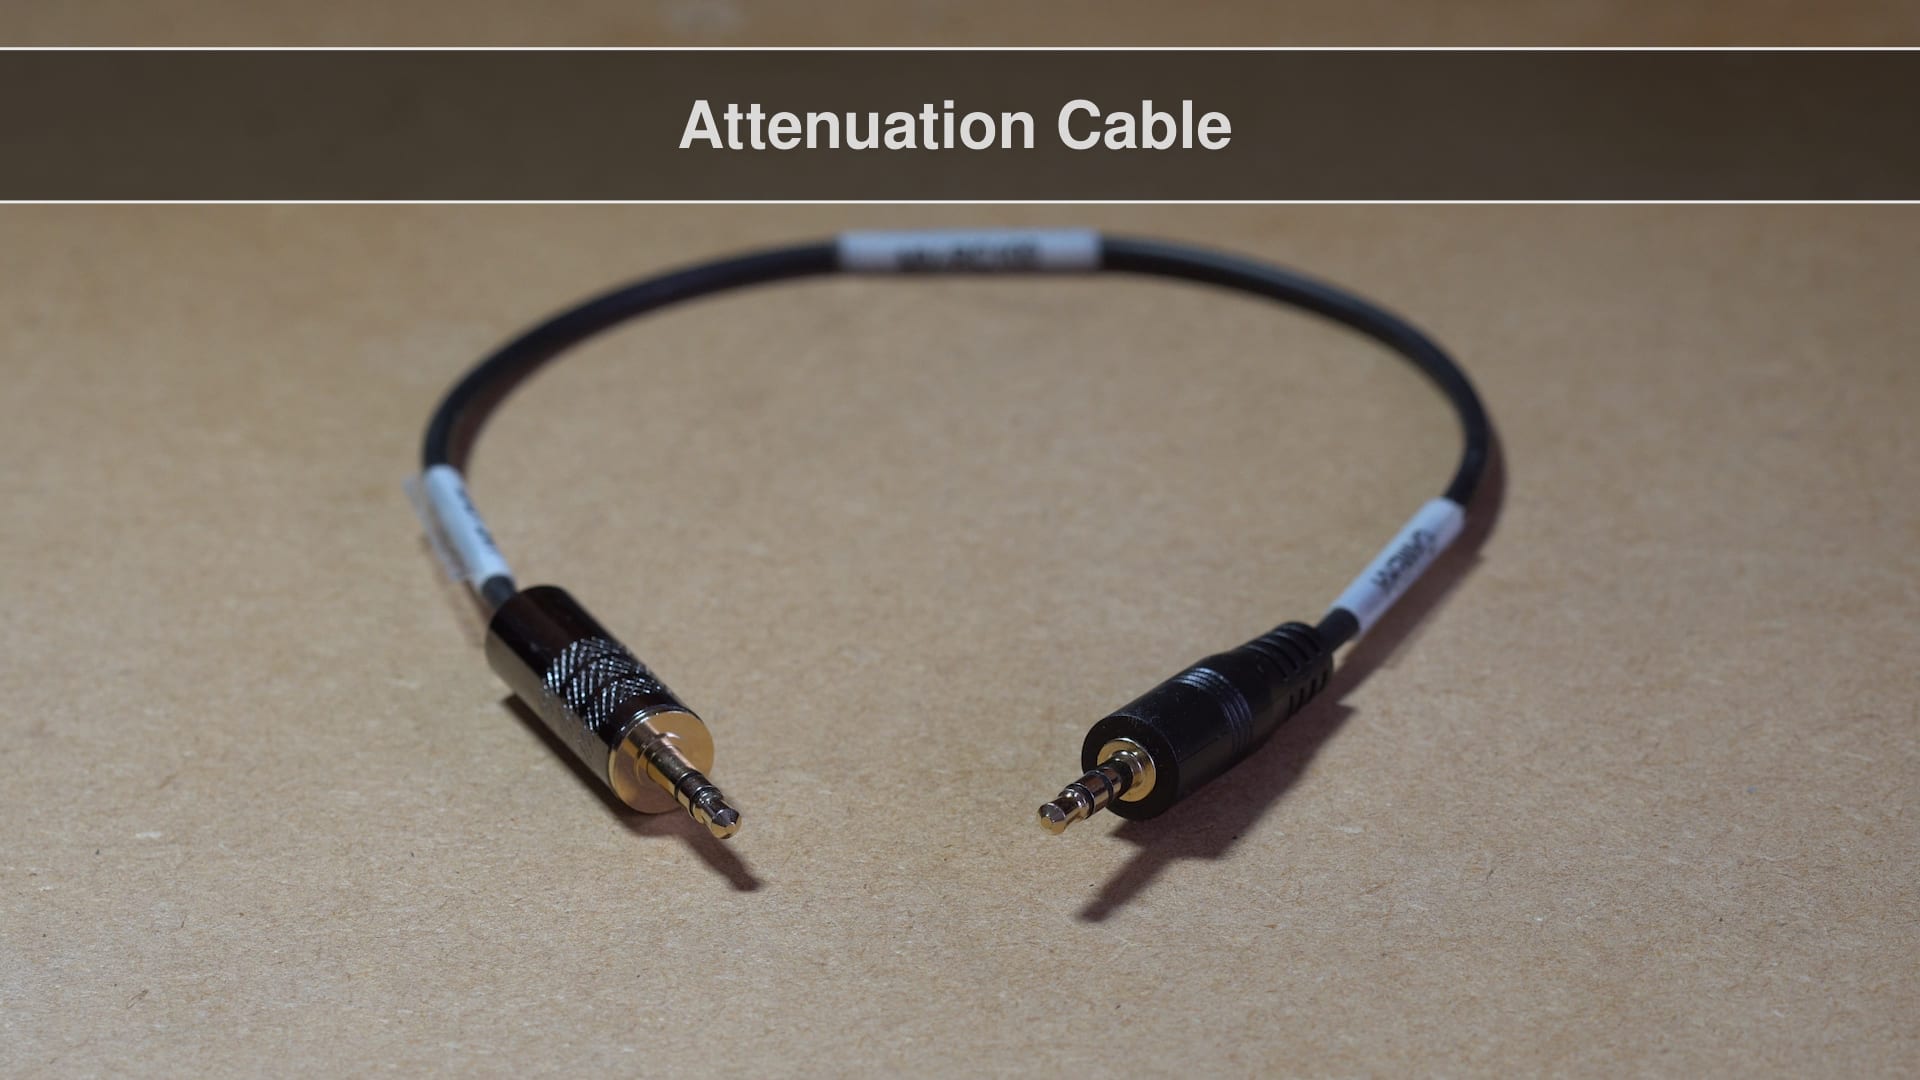
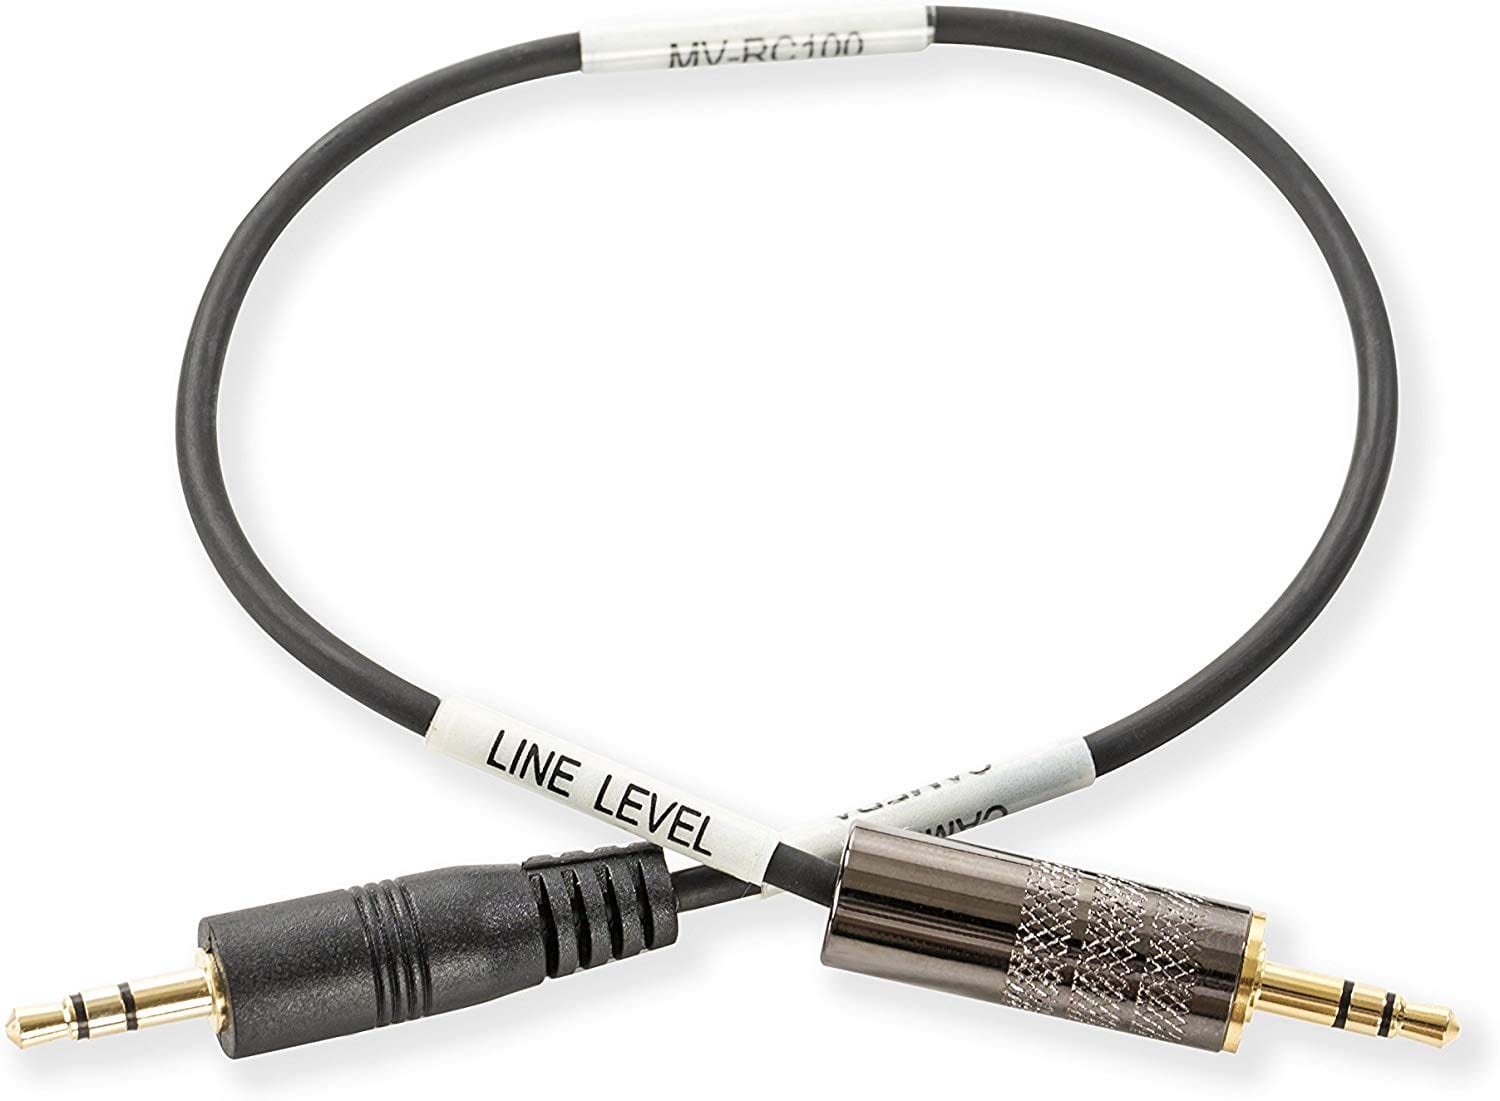
 An Attenuation Cable
Lowers clipping / distorted audio by a set number of decibels
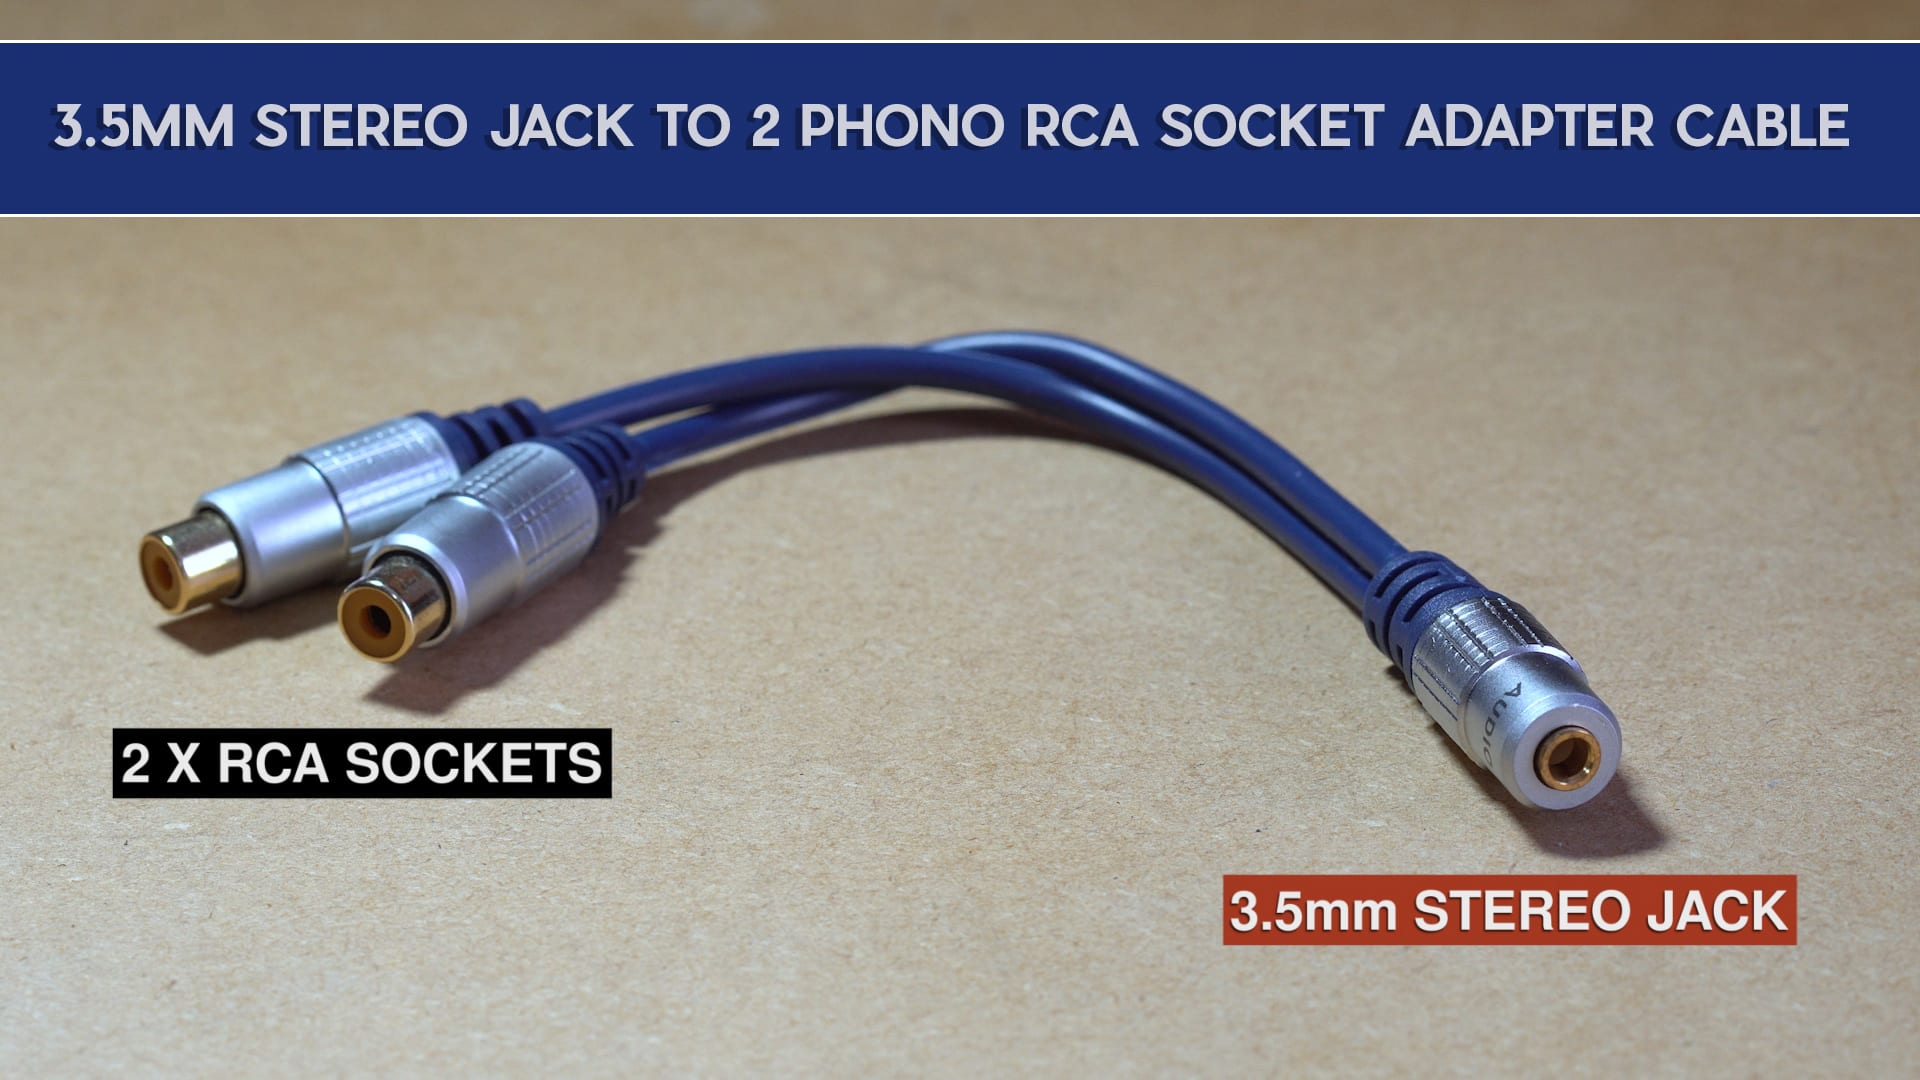
Y-Splitter / RCA Adapter cable
This connects to the 3.5mm plug on the Attenuation cable

 Connect this up
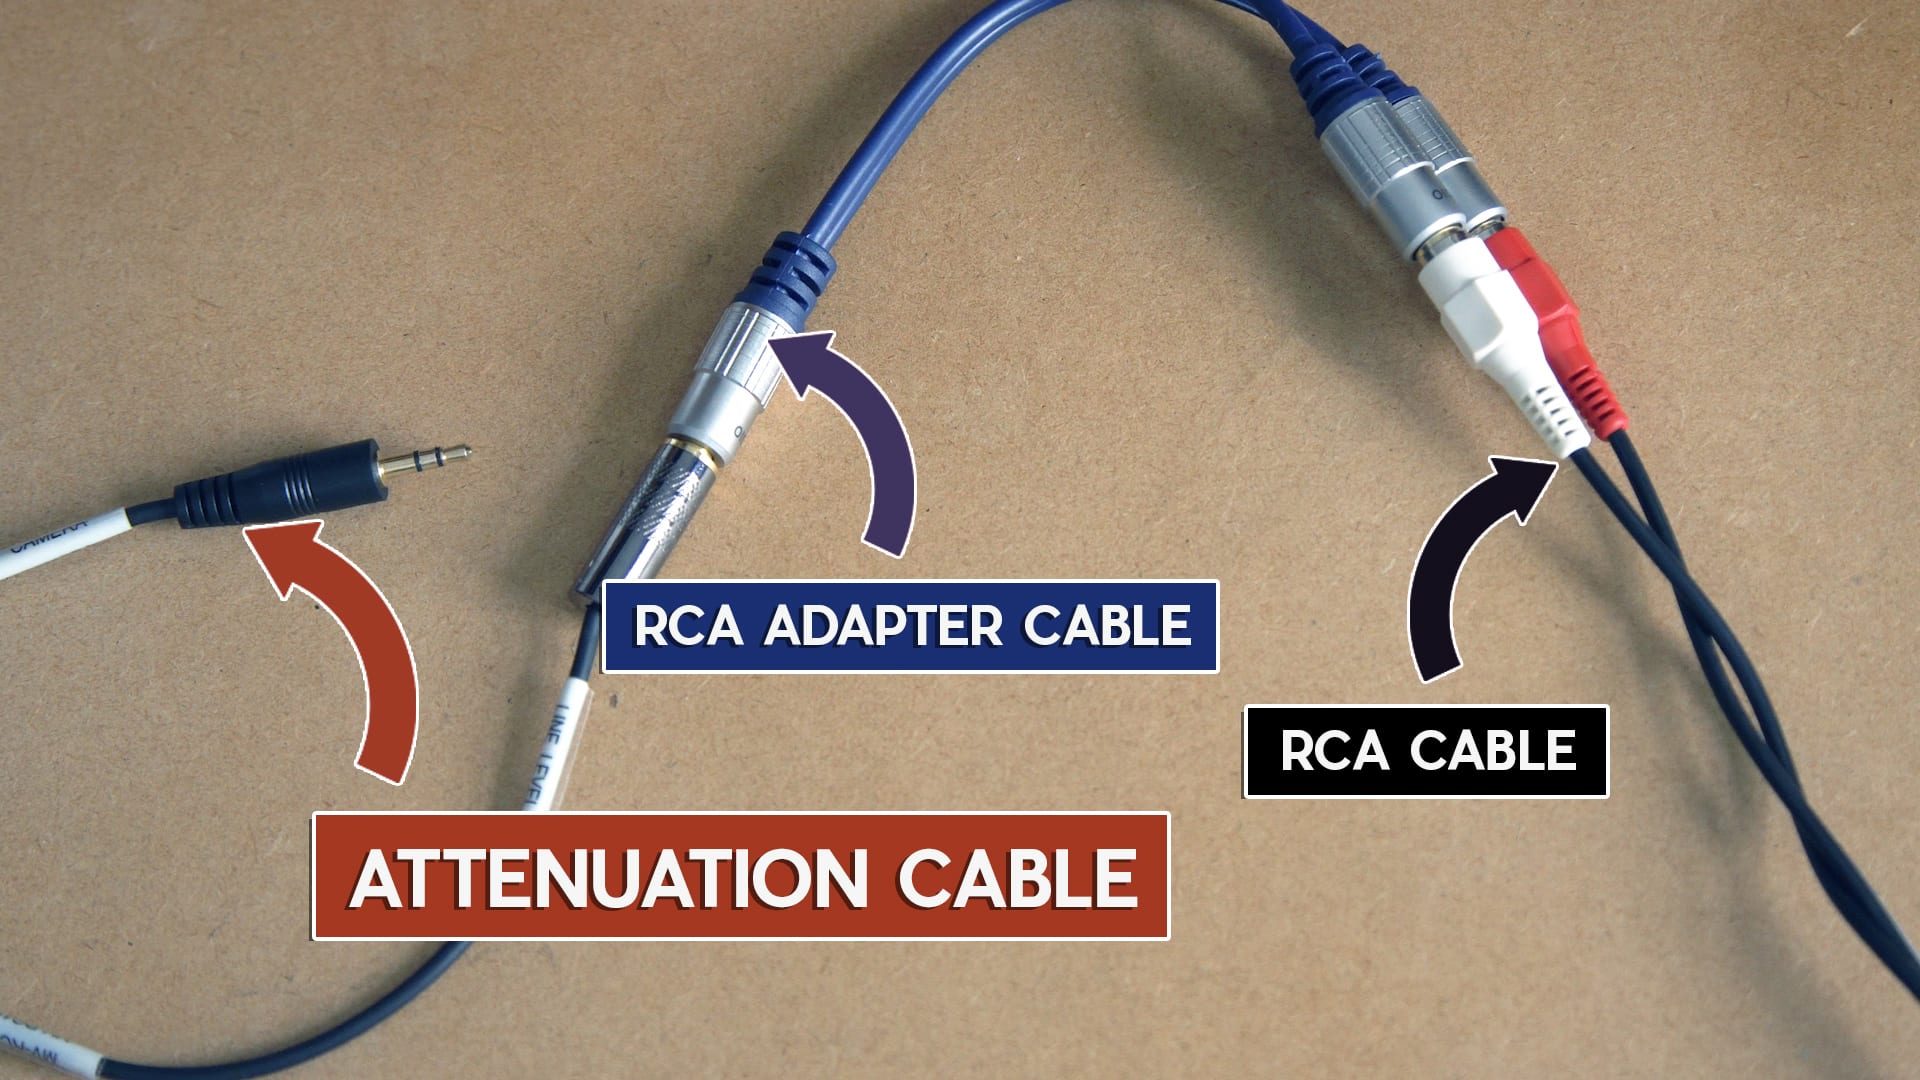
Connect it up exactly as shown
Get ready to connect it all up to the Zom H1 and Mixer

Connect RCA cable to Mixer
Connect it to the Tape Out
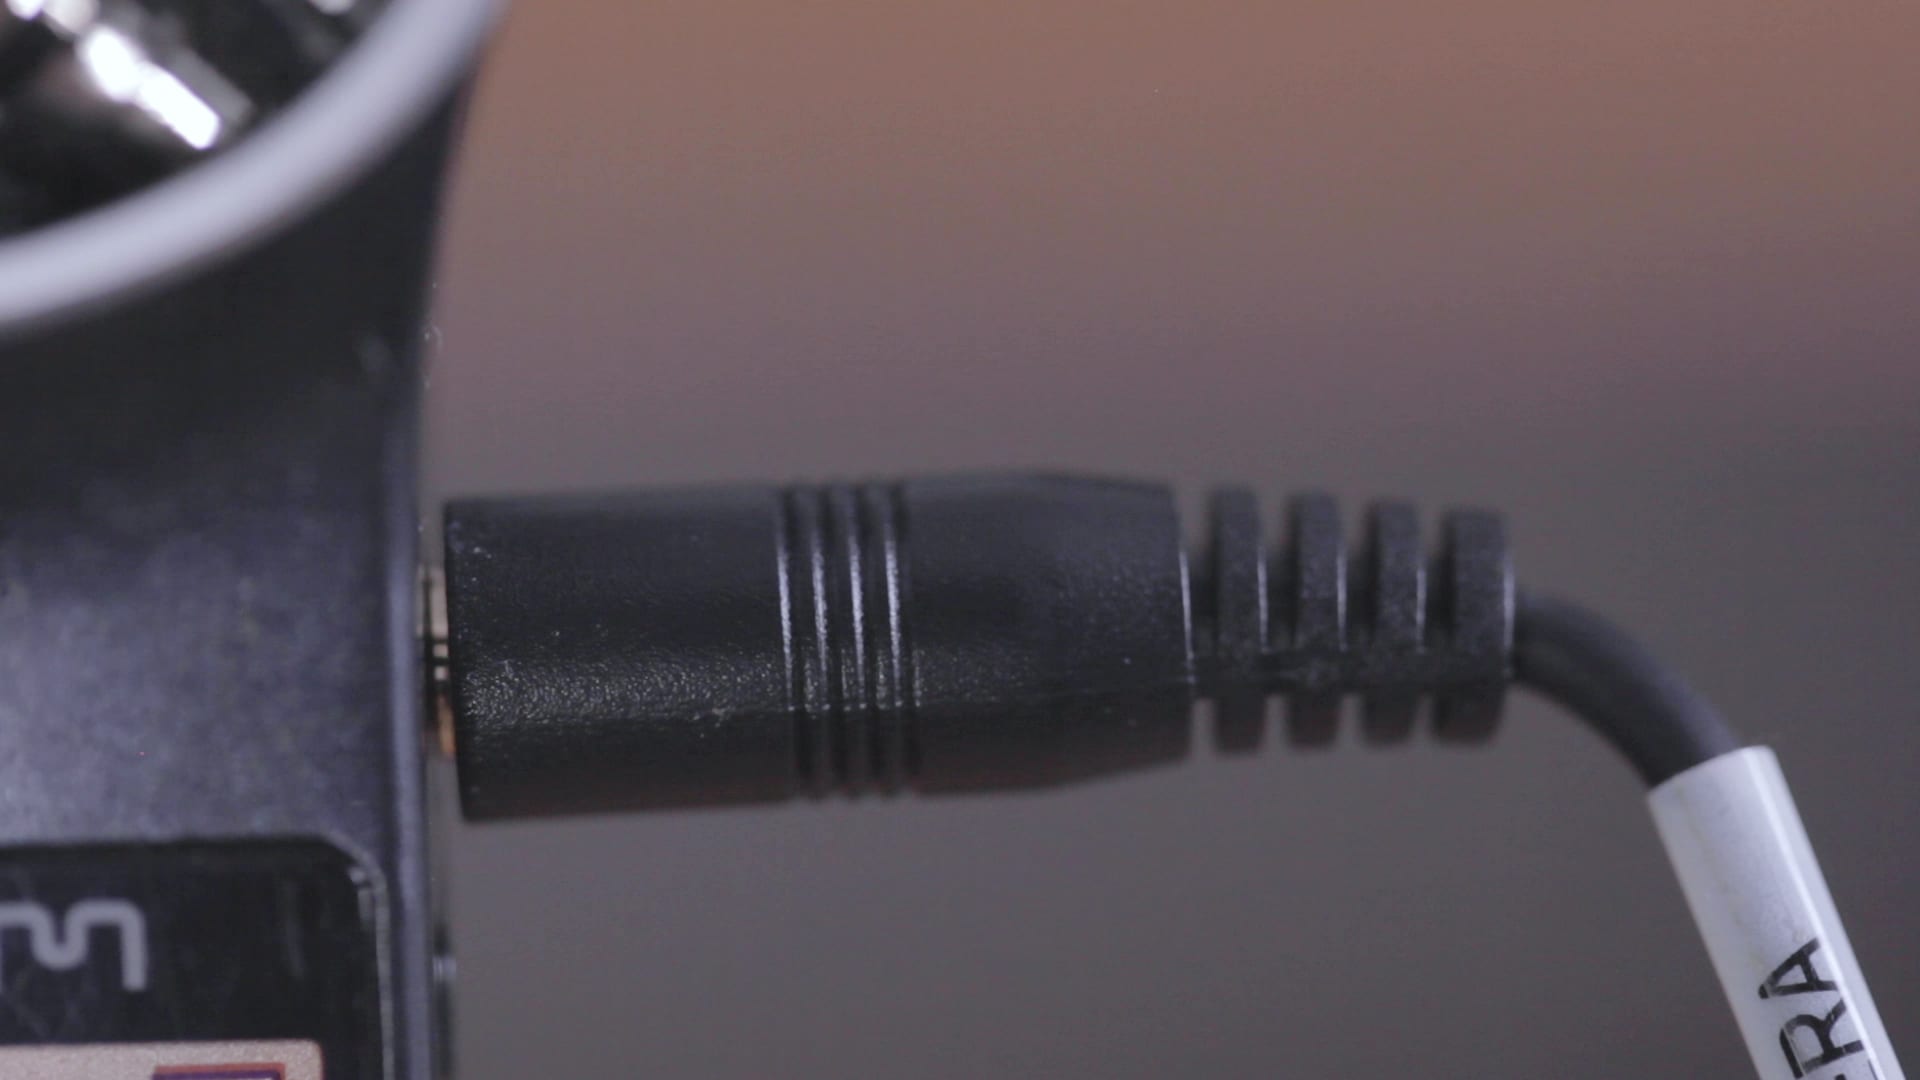
Insert this into the Line / Mic In of the Zoom H1
Get ready to test this and be prepared for happiness!
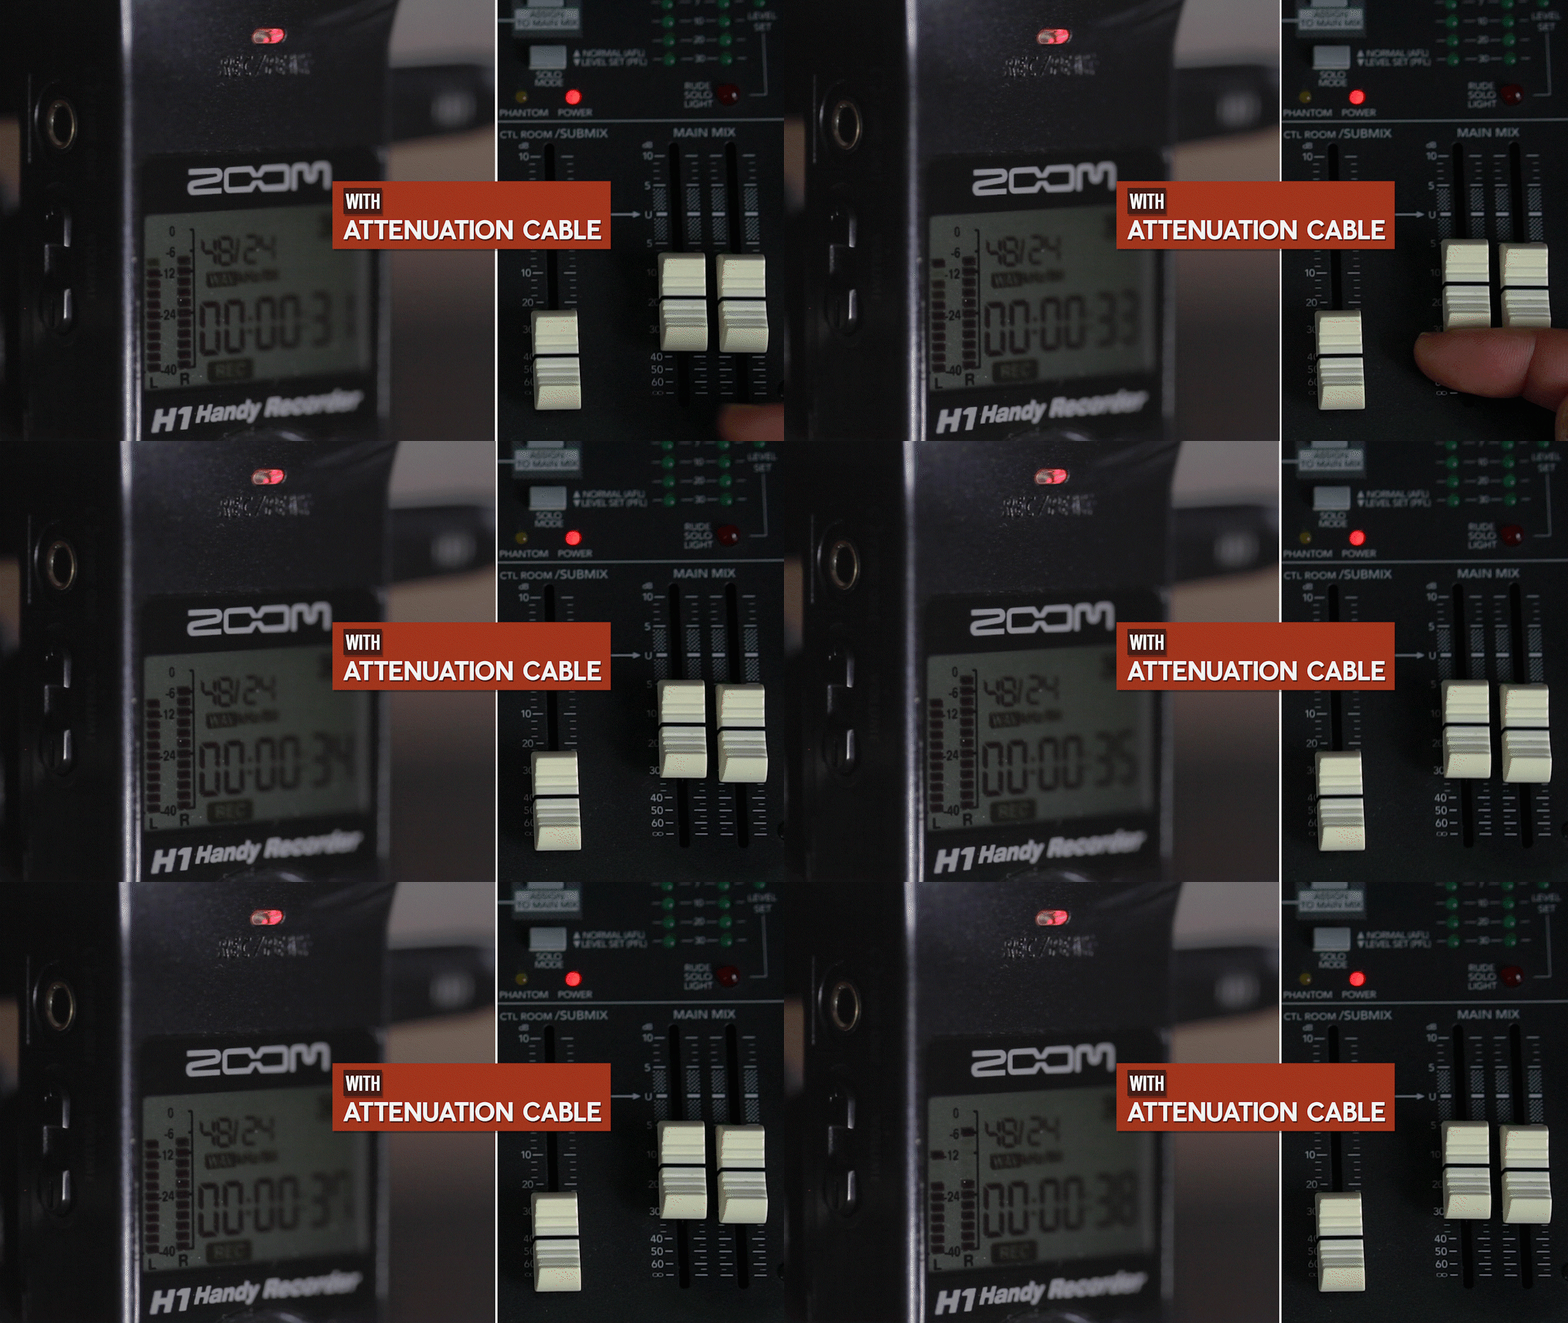
The Input levels on the Zoom H1 are at a good level!
The Microphone Input is connected to the Mixer’s Line Output as it was in the clipped example before. Its just now an Attenuation cable has been added to lower that audio going into the Zoom H1. See section above on Audio Clipping

Good Level Audio
This happens when an Attenuation cable is added between a Microphone Input and a Mixer’s Line Output.
[su_heading style=”flat-dark” size=”30″ margin=”0″]WATCH VIDEO BELOW[/su_heading]
[su_heading style=”flat-dark” size=”30″ margin=”0″]EQUIPMENT NEEDED[/su_heading]

[su_heading style=”flat-dark” size=”30″ margin=”0″] EQUIPMENT NEEDED[/su_heading]


