Using wireless microphones can be so frustrating for many video creators. They can present many problems such as Intermodulation Distortion, Radio Frequency Interference and Static to name a few. However the Sennheiser G3 wireless system has ways to combat all of this. In this article you will read how to connect a Sennheiser G3 wireless system to the Zoom H4n. Read on!
Connecting a Sennheiser G3 wireless system to a Zoom H4n

Very usefull, nice, clear, simple and instructive. My compliments and thanks!

Exellent video! This tutorial saved my gig!

Thank you so much, great tutorial!
Click here to read about the benefits of using a wireless microphone
[su_heading style=”flat-dark” size=”24″ margin=”0″]WHAT IS RADIO FREQUENCY [/su_heading]Radio frequencies (RF) are waves that operate between 3 kHz to 300 GHz. This frequency band is used for wireless communication and broadcasting between devices.
Equipment like the Sennheiser G3 Wireless system can be tricky to setup because it depends on Radio frequencies to make them operate correctly. Radio frequency communications are always around us, whether using a laptop, mobile phone or a smart TV. Also Broadcast Towers on the road as well as Satellite dishes on homes use radio transmissions to operate.
Below you will see just some of the devices that operate using Radio Waves.
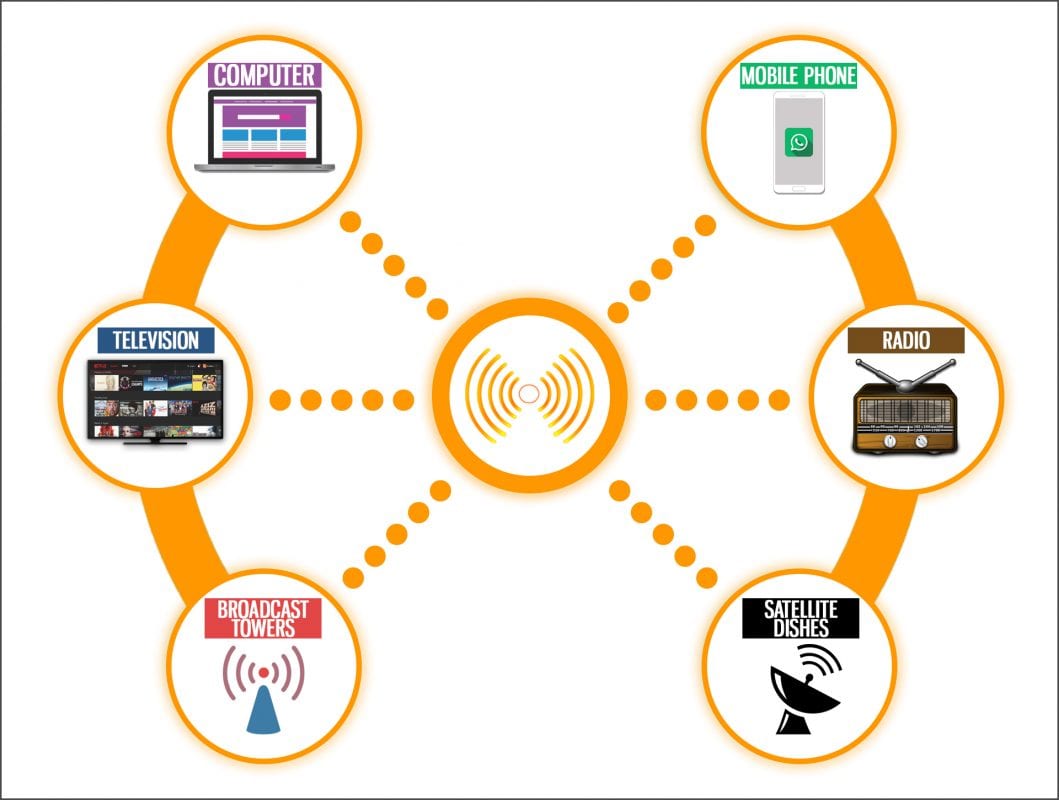 [su_label type=”important”]NOTE[/su_label] When devices share the same radio frequency you might experience issues such as interference resulting in your devices not operating how they should
As mentioned above Radio frequencies operate between 3 kHz to 300 GHz so if two or more devices share the same frequency, for example, if the radio frequency of a satellite dish intersects the frequency of a mobile phone, the latter will suffer from radio interference. The mobile phone will not work as it should and you’ve probably experienced this at some stage.
[su_heading style=”flat-dark” size=”24″ margin=”0″]HOW DOES THE SENNHEISER G3 AVOID THIS RADIO FREQUENCY INTERFERENCE [/su_heading] The Sennheiser G3 Lavalier system is a genius piece of kit because usually when a few devices share the same radio frequency interference occurs. However, the Sennheiser G3 can tune into so many different frequencies and channels hence reducing interference.
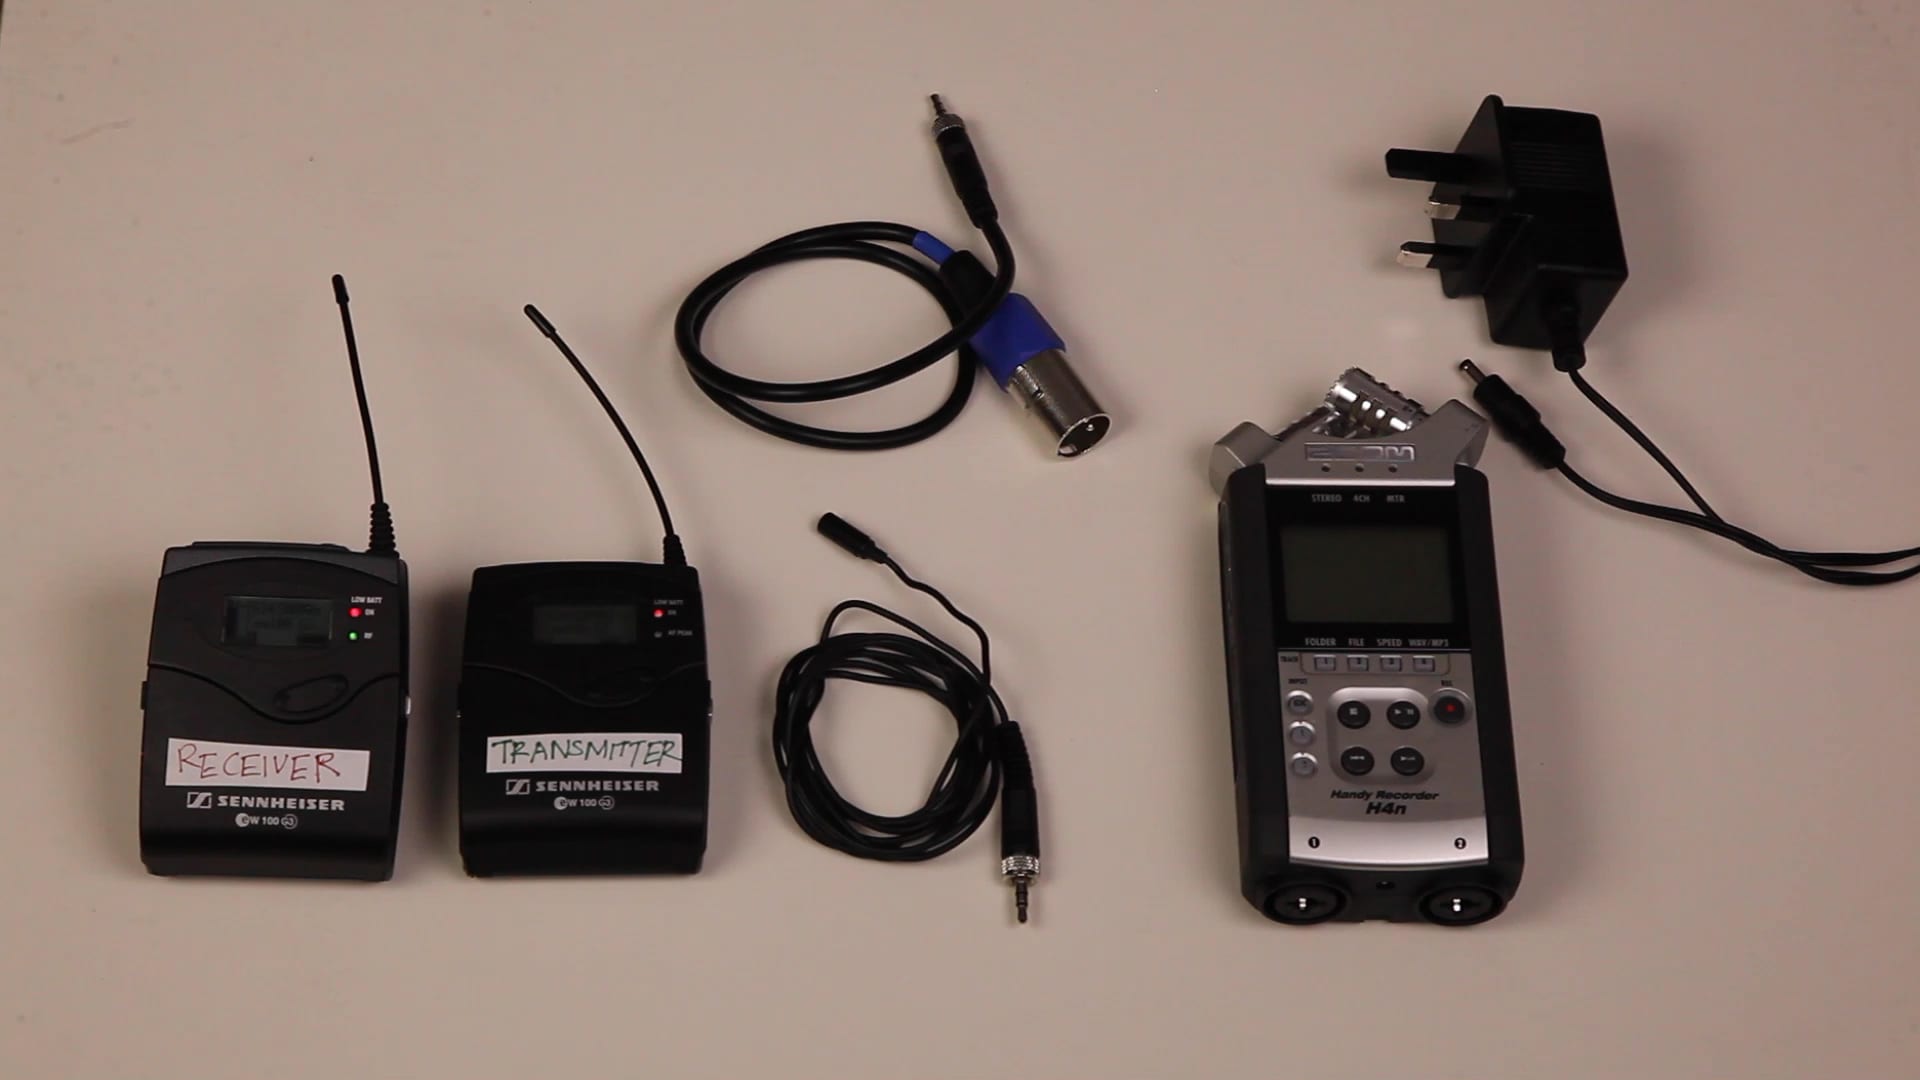
[su_highlight background=”#1ba50b” color=”#ffffff”]SENNHEISER G3 CAN SELECT FROM 1,680 DIFFERENT CHANNELS![/su_highlight][su_heading style=”flat-dark” size=”24″ margin=”0″]STEPS FOR CONNECTING THE SENNHEISER G3 TO THE ZOOM H4N[/su_heading]
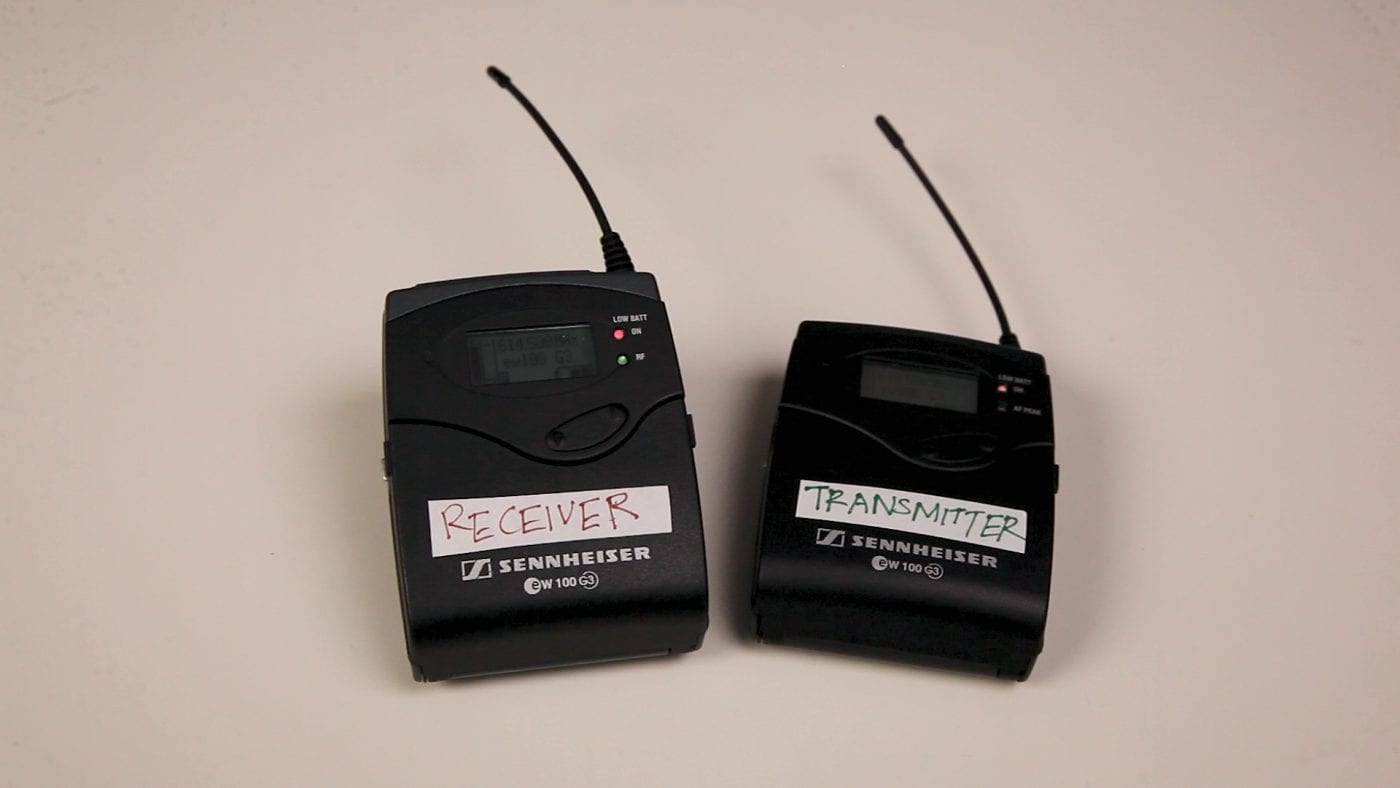
Sennheiser Receiver and Transmitter
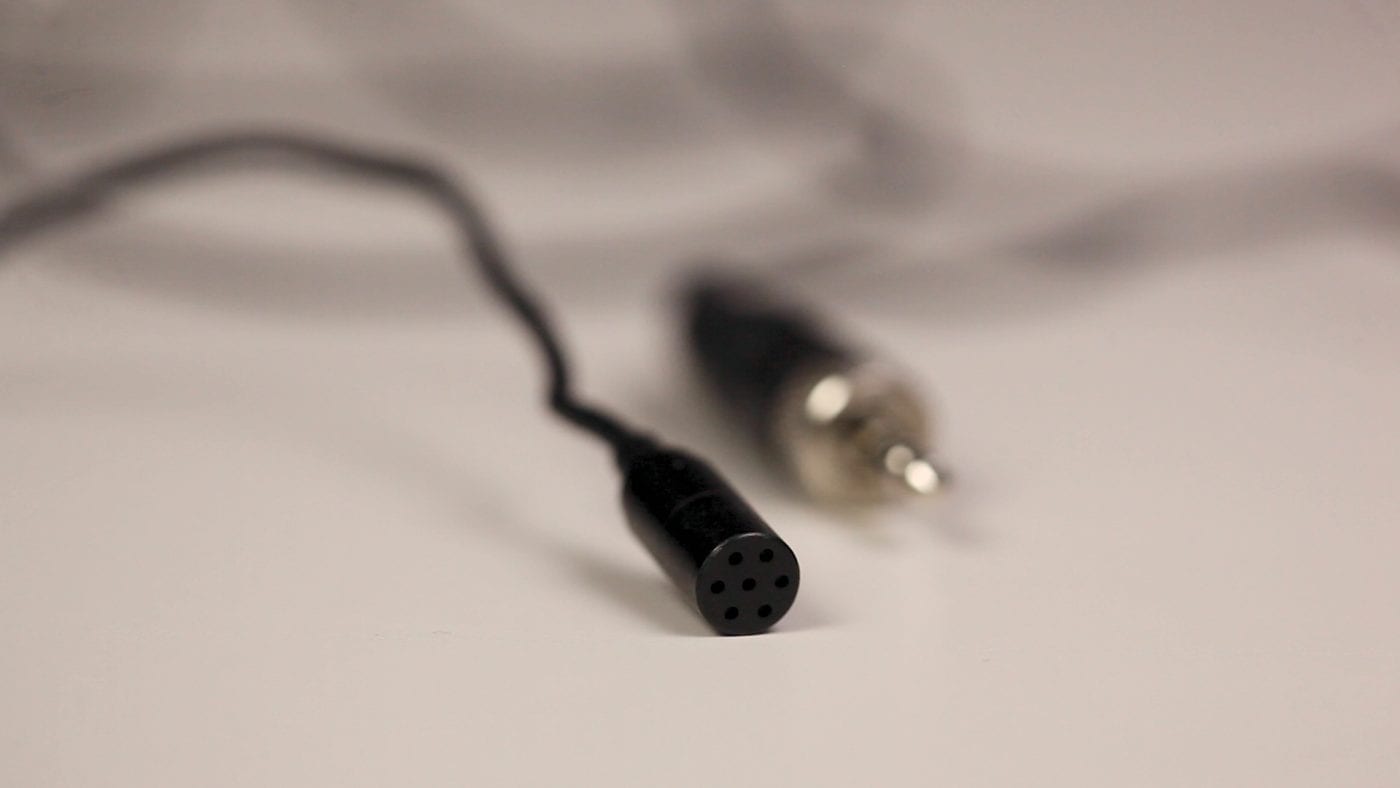
ME 2 Lavalier Microphone
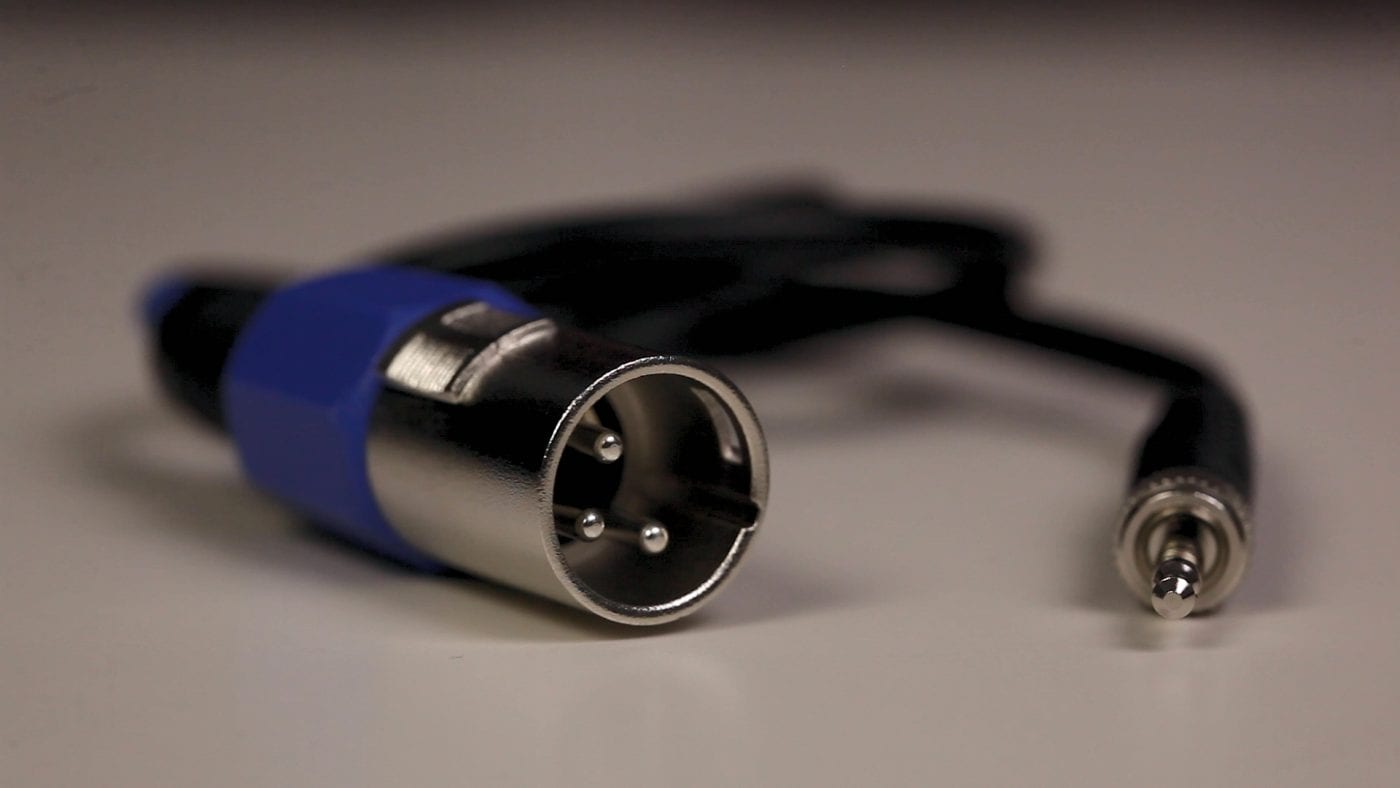
CL 100 XLR Cable
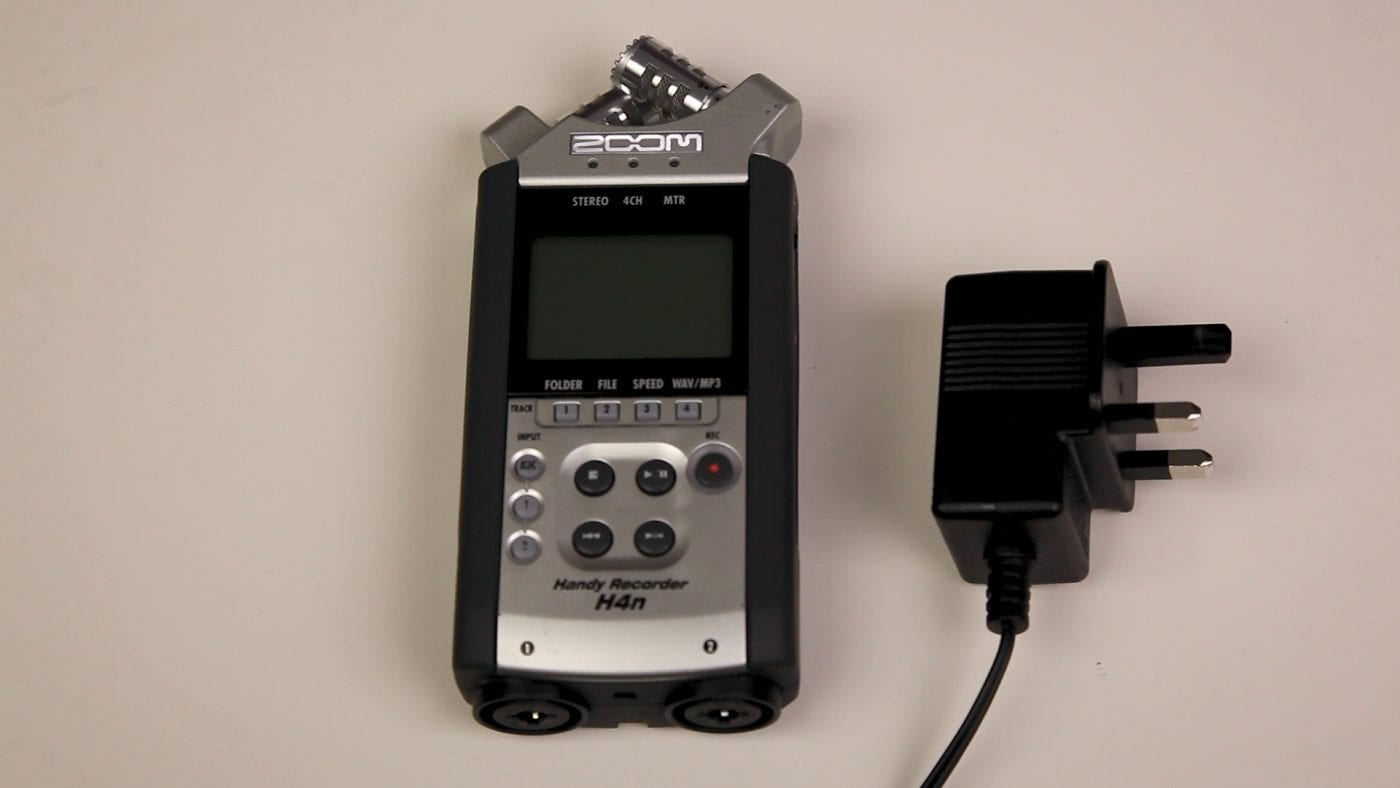
Zoom H4n
To read about how to Connect a Zoom H4n to a Mixer click here OR click on the image below

[su_note note_color=”#9c3446″ text_color=”#ffffff” radius=”0″]RESET THE RECEIVER AND TRANSMITTER[/su_note]
Open battery compartments to reveal operating buttons
Do this for both the Receiver and Transmitter
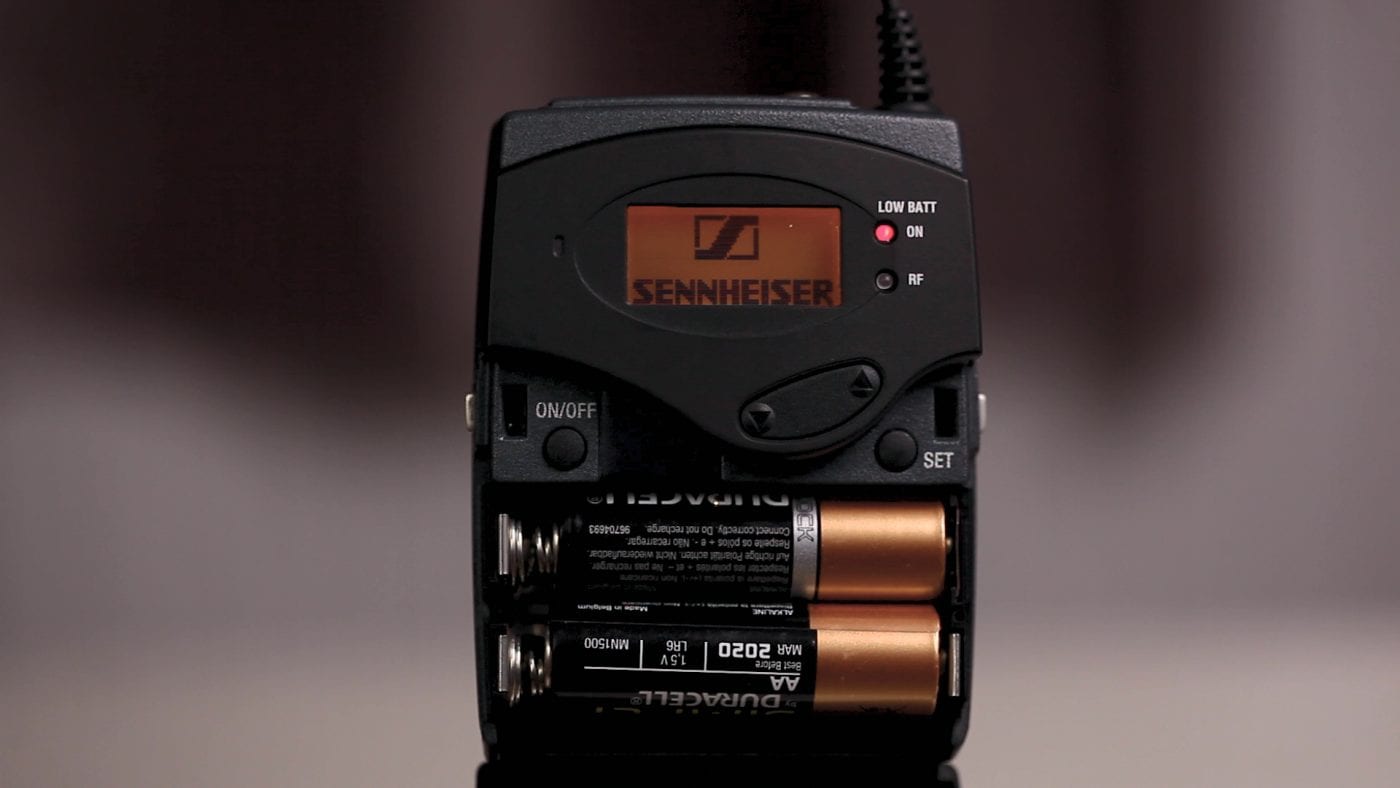
Press the On / Off button to power up both units
Do this for both the Receiver and Transmitter
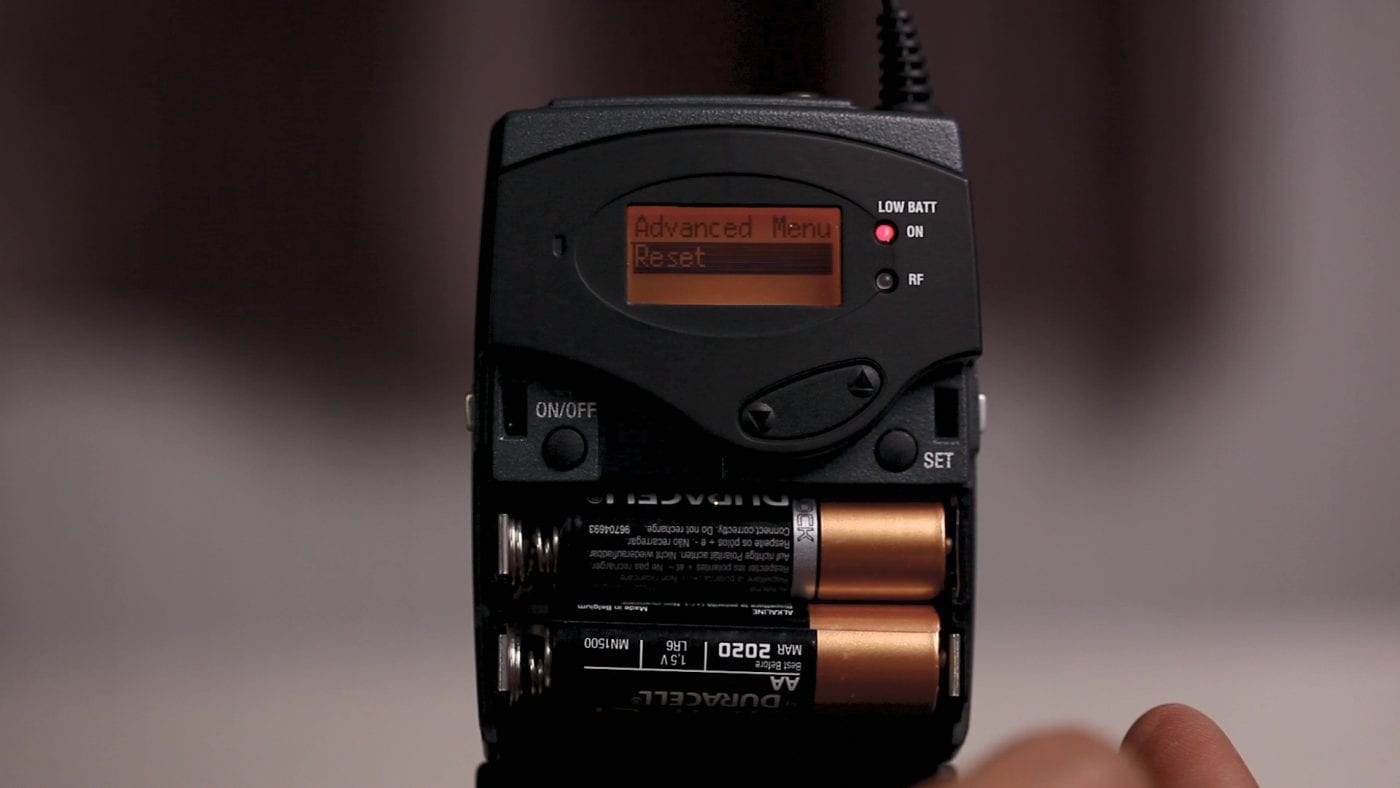
Press the Set button > Scroll to the Advanced Menu
Then press Set to select it
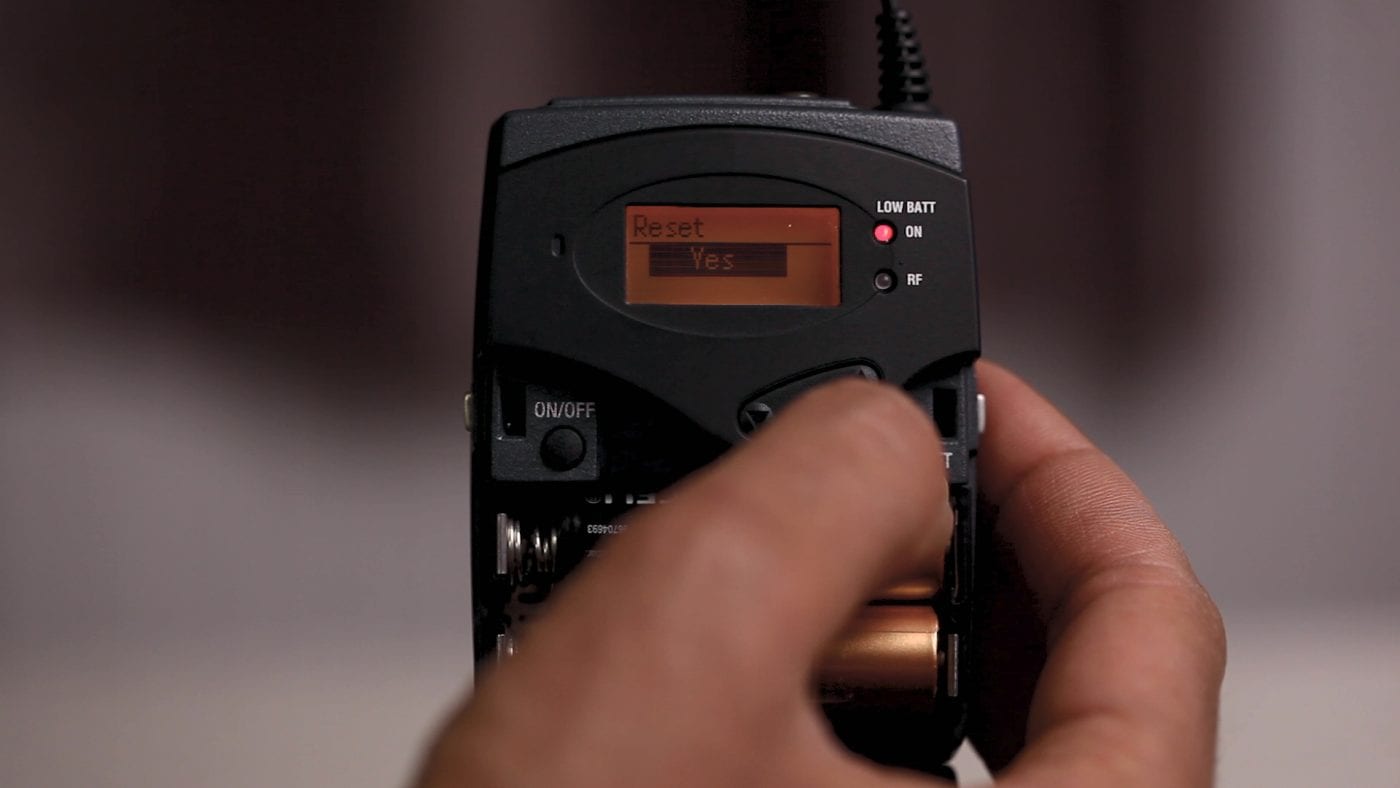
Scroll to the Reset option
Then press Set to select it
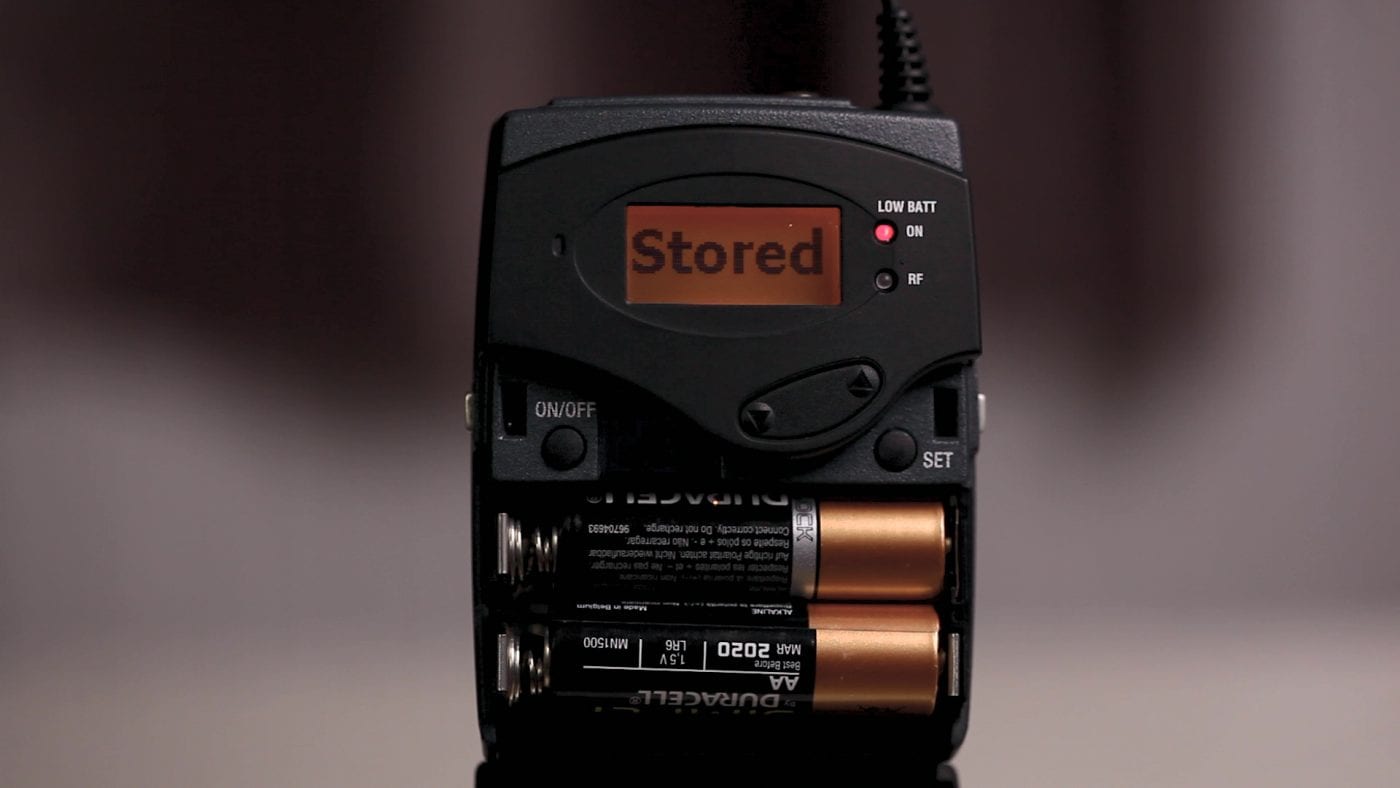
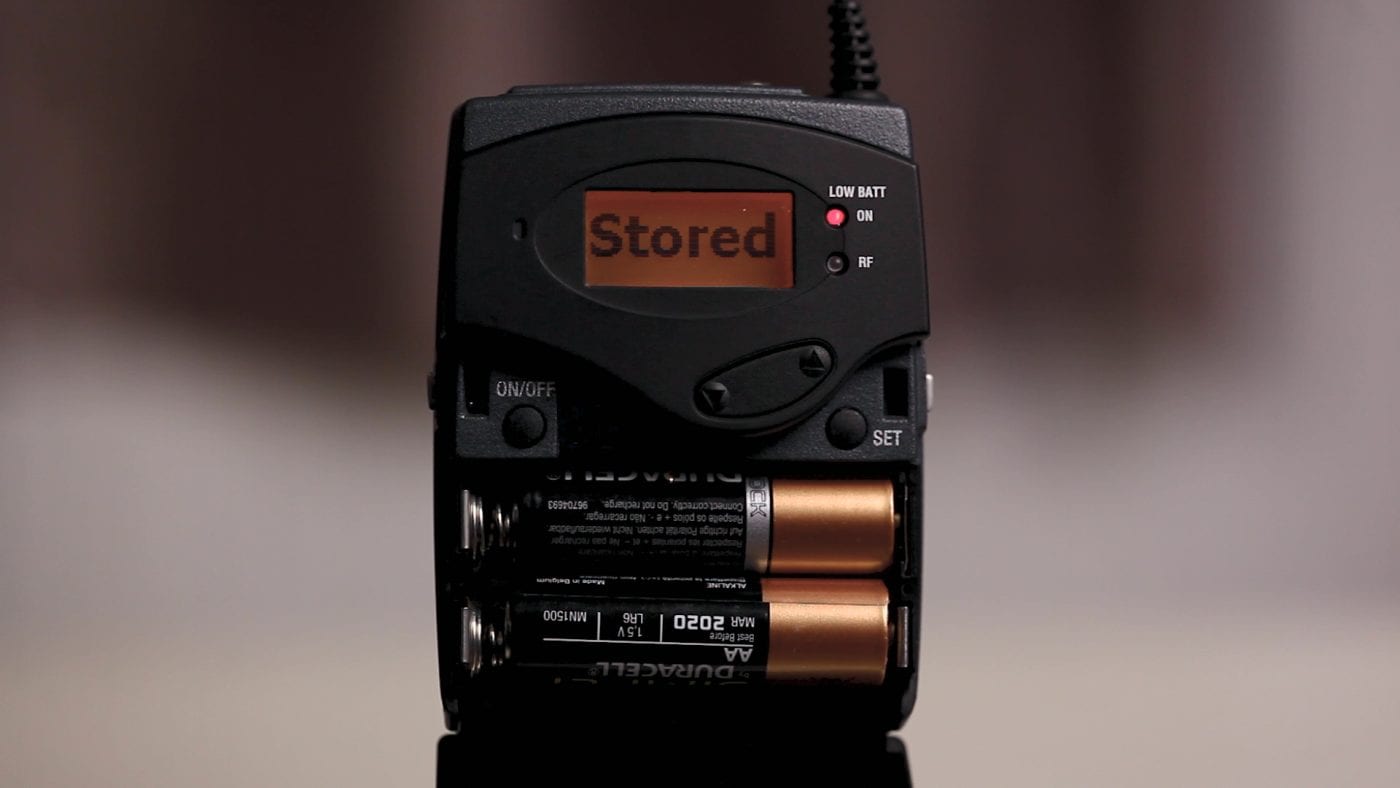
The unit is now Restored to Factory settings
Check both units to confirm this
[su_note note_color=”#9c3446″ text_color=”#ffffff” radius=”0″]SCAN FOR A FREE CHANNEL ON THE RECEIVER [/su_note]

Press Set > Menu > Easy Setup > Press Set
This will lead you to the Scan New List option
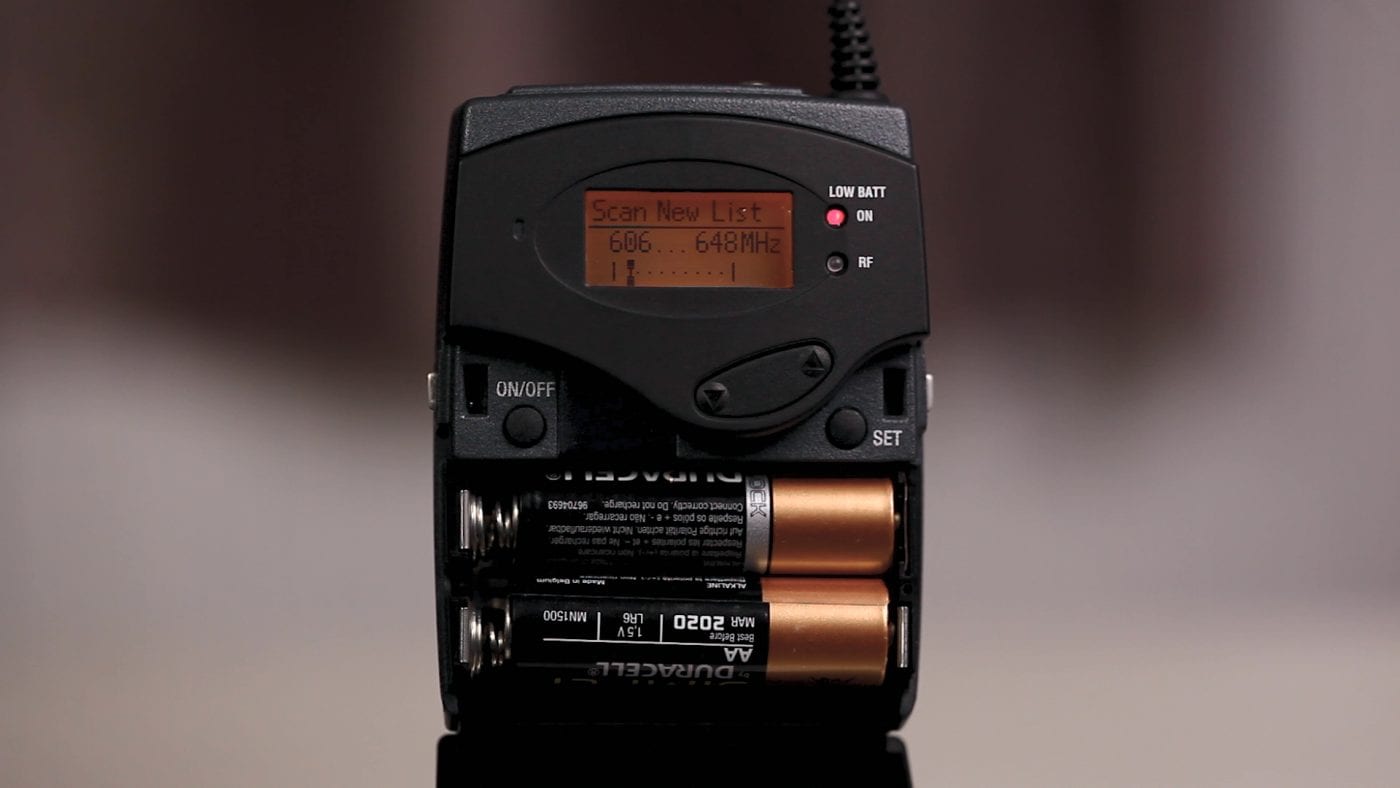
Scanning Frequencies will begin
The scan will take around 55 seconds to complete

The free Channels and Frequencies will be displayed
Select the Bank with the most free channels
Press Set to store the new Channel
Test the Channel to confirm no other Frequencies are causing interference with it
[su_note note_color=”#9c3446″ text_color=”#ffffff” radius=”0″]SYNC THE RECEIVER AND TRANSMITTER [/su_note]
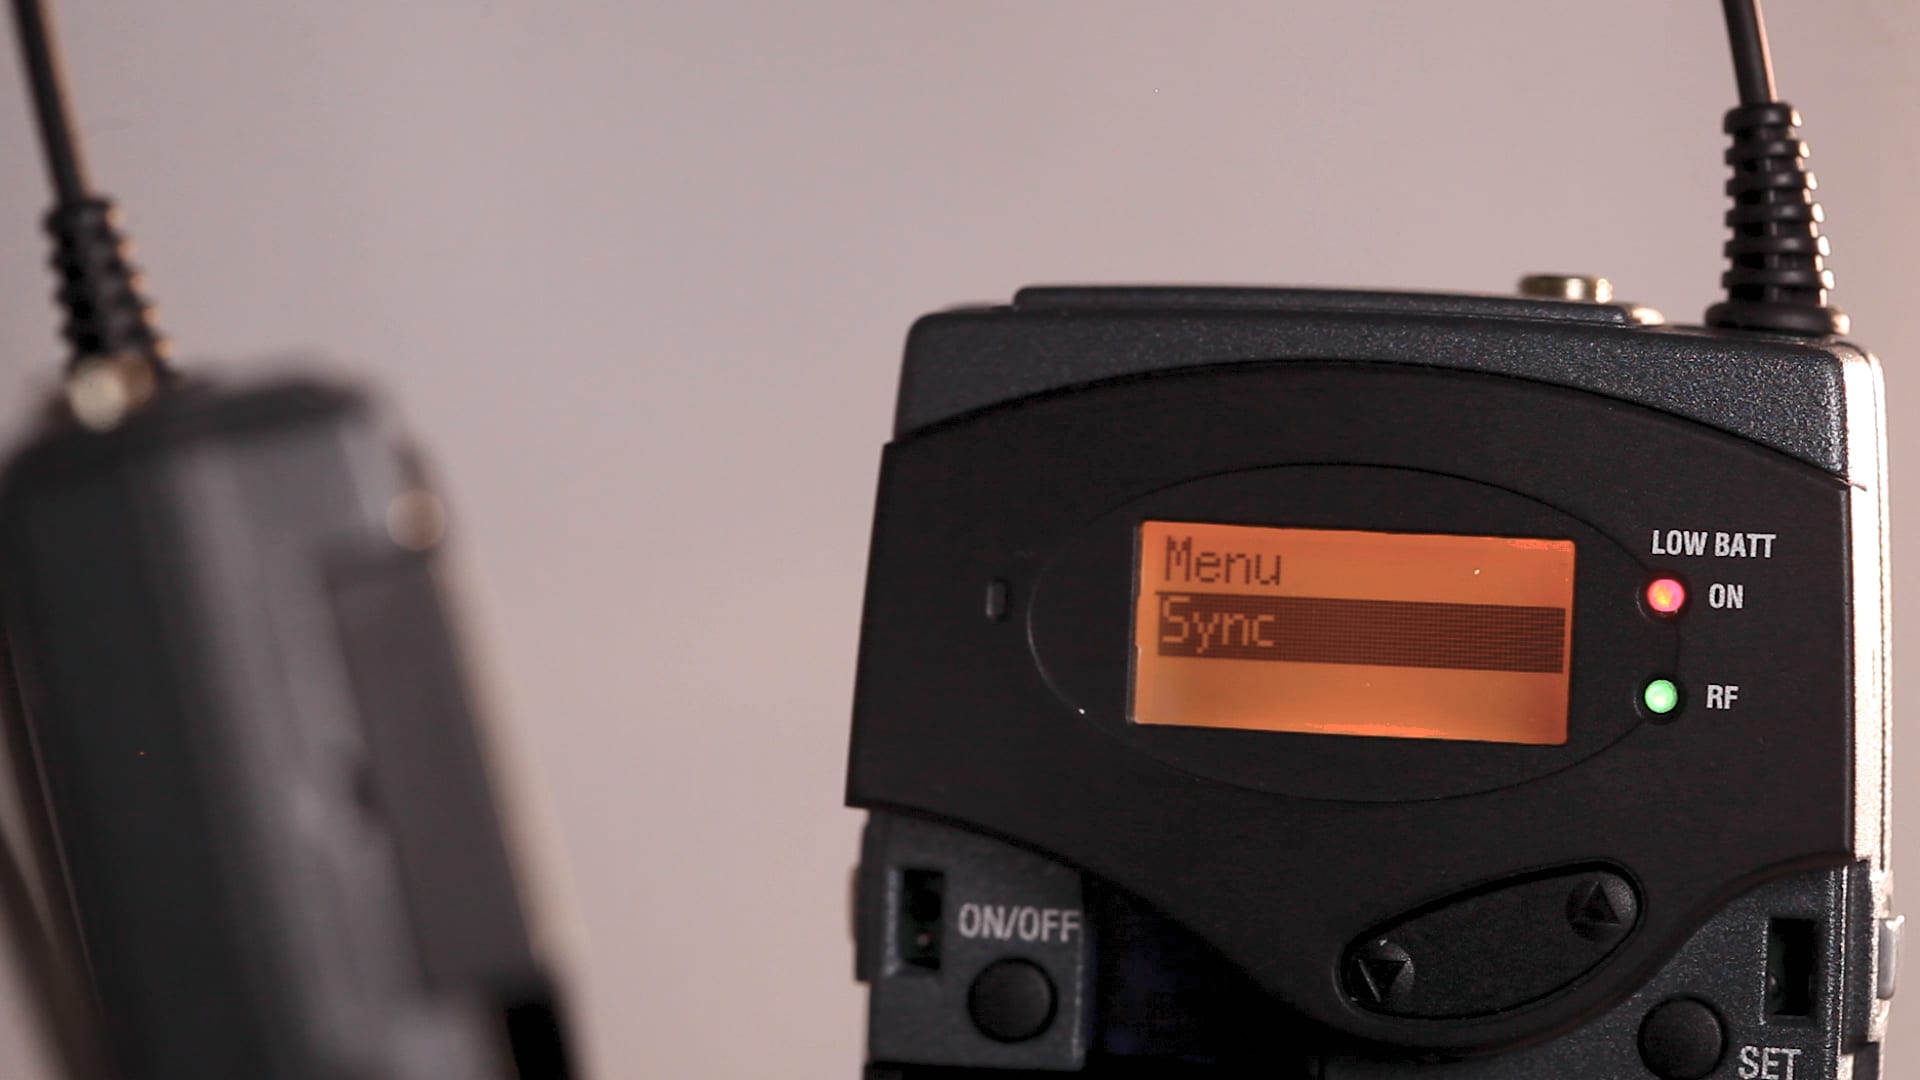
On the Receiver scroll to Menu > Sync > Press Set
Wait for the checkmark to confirm the sync
Line up the Infrared panels of the Receiver and Transmitter
Have them fairly close
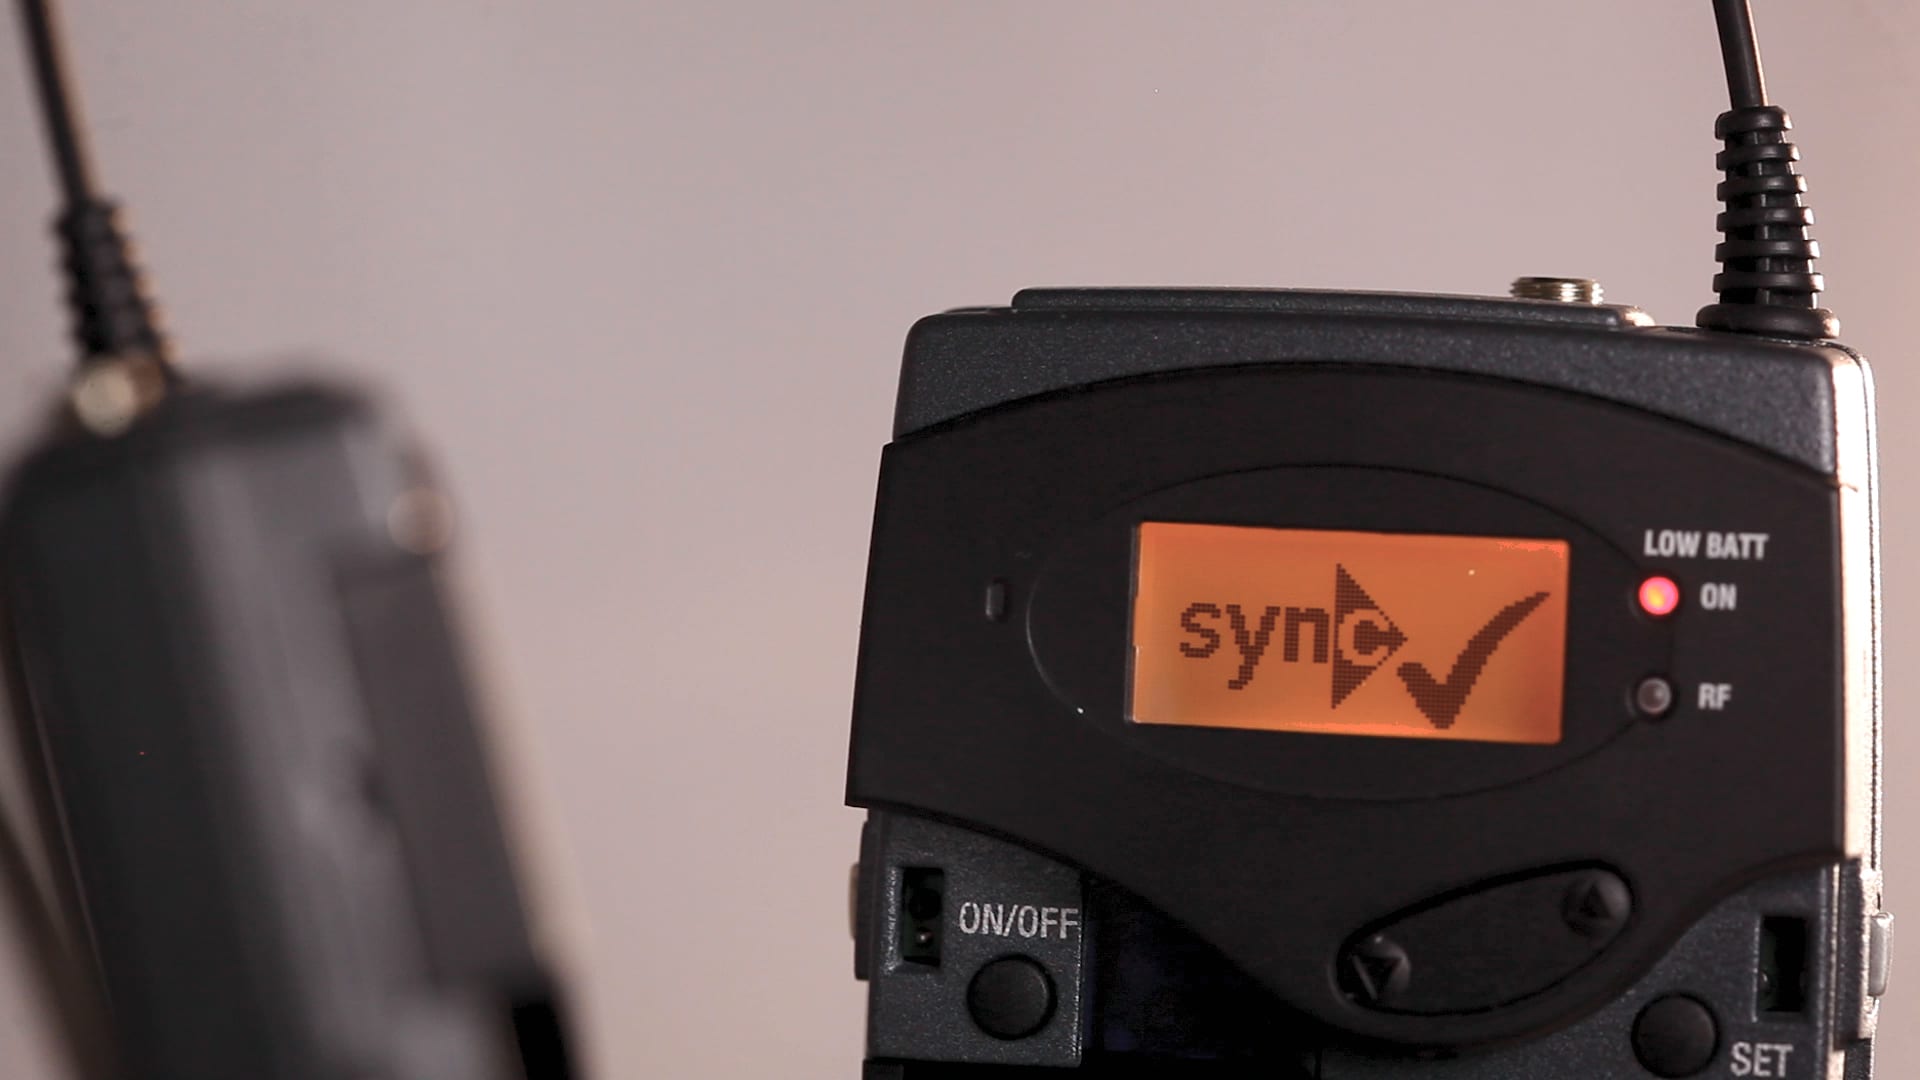
Sync success
The check mark shows that the transmitter has been successfully synced to the receiver

Green RF light confirms Sync
The check mark with the green RF light confirms the Sync
[su_note note_color=”#9c3446″ text_color=”#ffffff” radius=”0″]ZOOM H4N: AUDIO SETUP [/su_note]

Unlink the Zoom H4n inputs
As there is only one lavalier microphone, we need to record that one mono input into the Zoom H4n
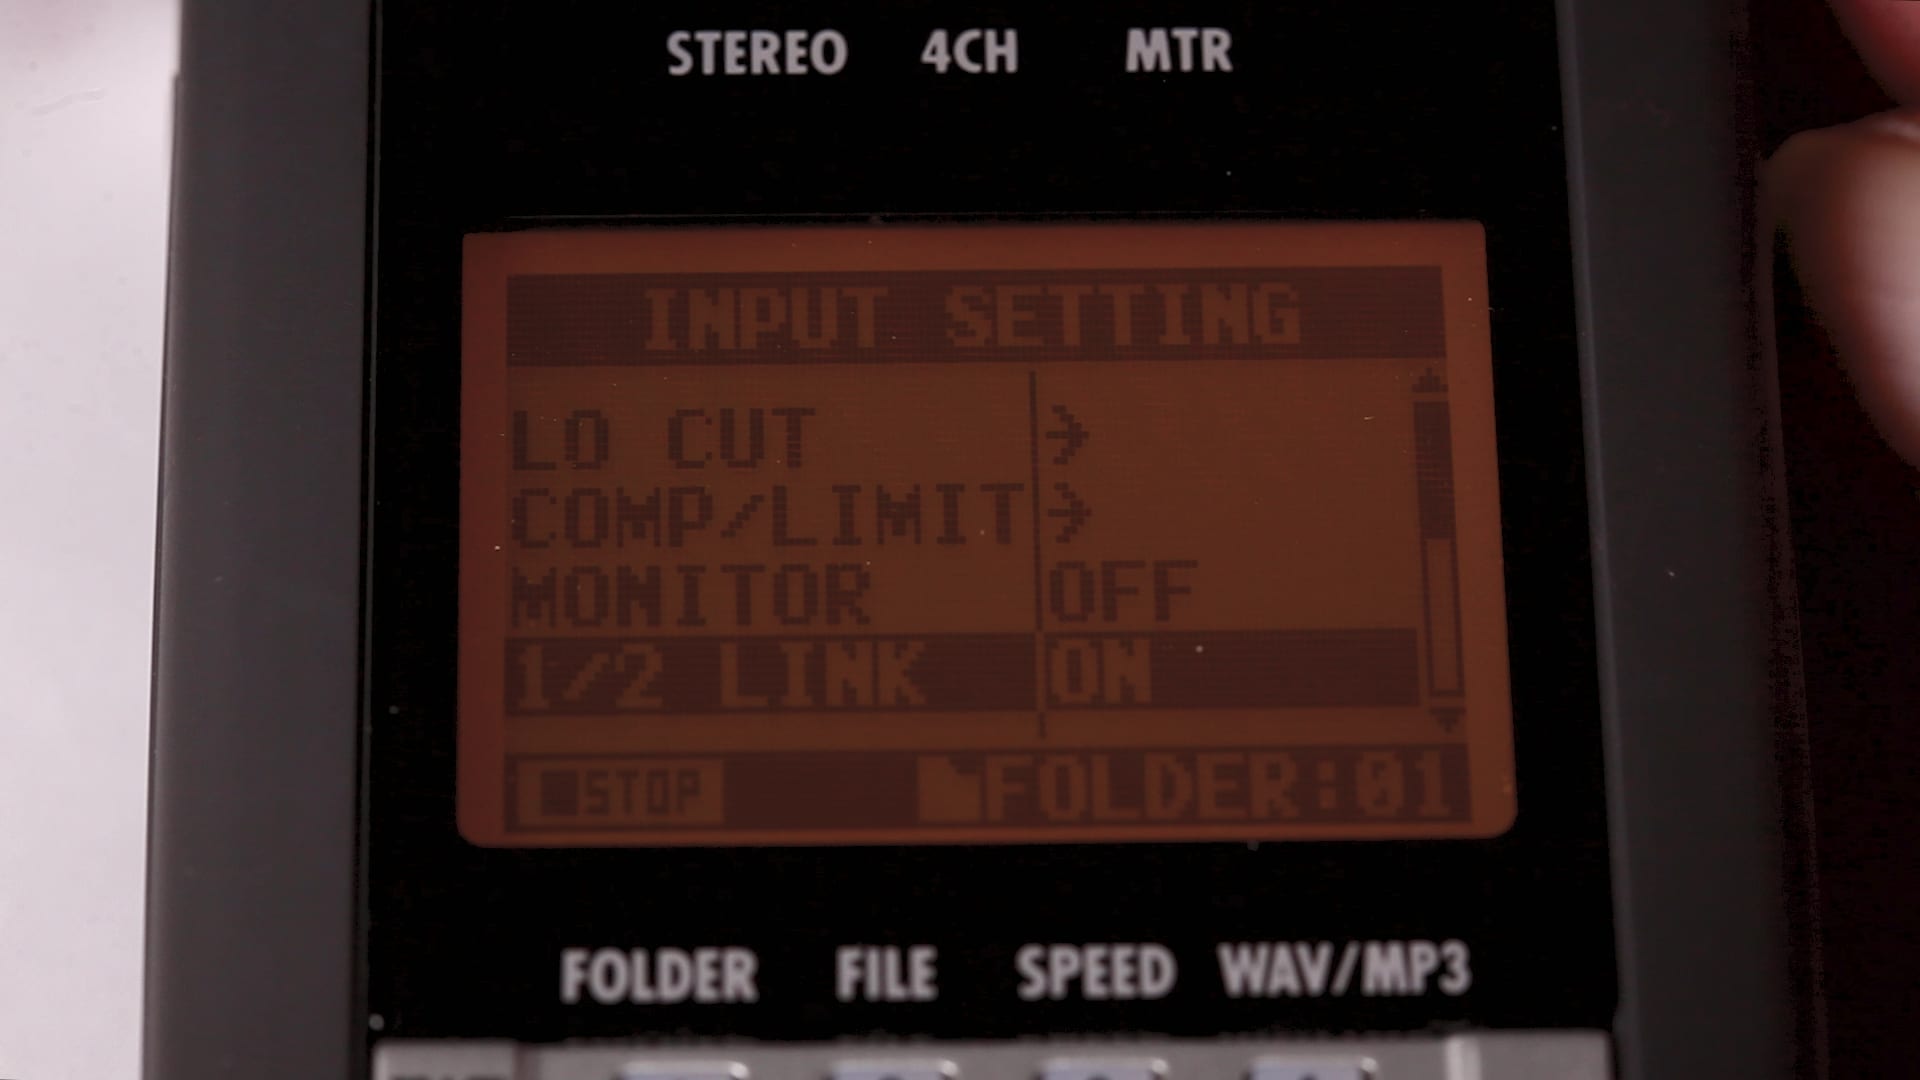
Menu > 1/2 Link > select Off
Once Unlink is off, the H4n won’t combine the audio as a dual mono audio
[su_note note_color=”#9c3446″ text_color=”#ffffff” radius=”0″]CONNECTING THE RECEIVER TO THE ZOOM H4N[/su_note]
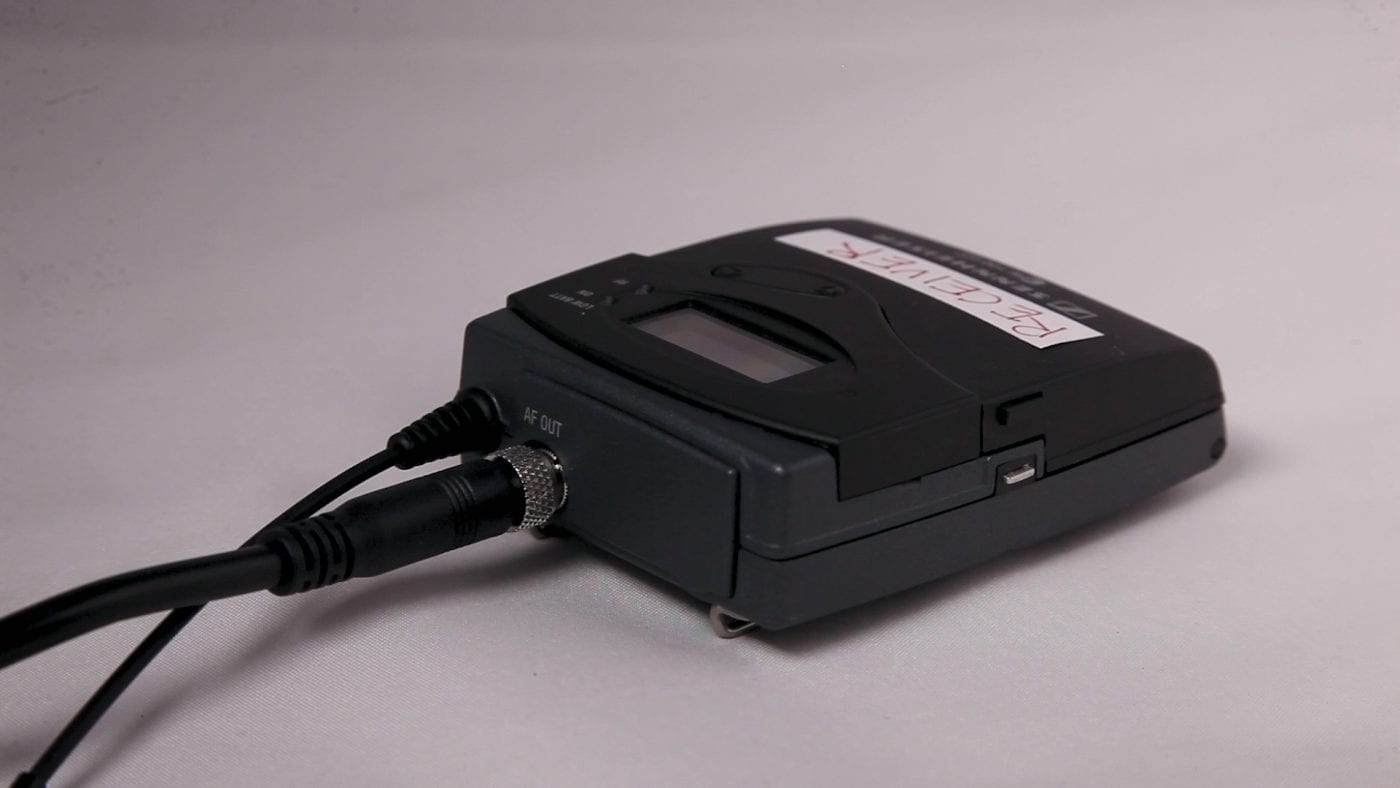
Connecting up the Receiver
Connect the Sennheiser CL100 cable to the G3 receiver’s AF Out port.
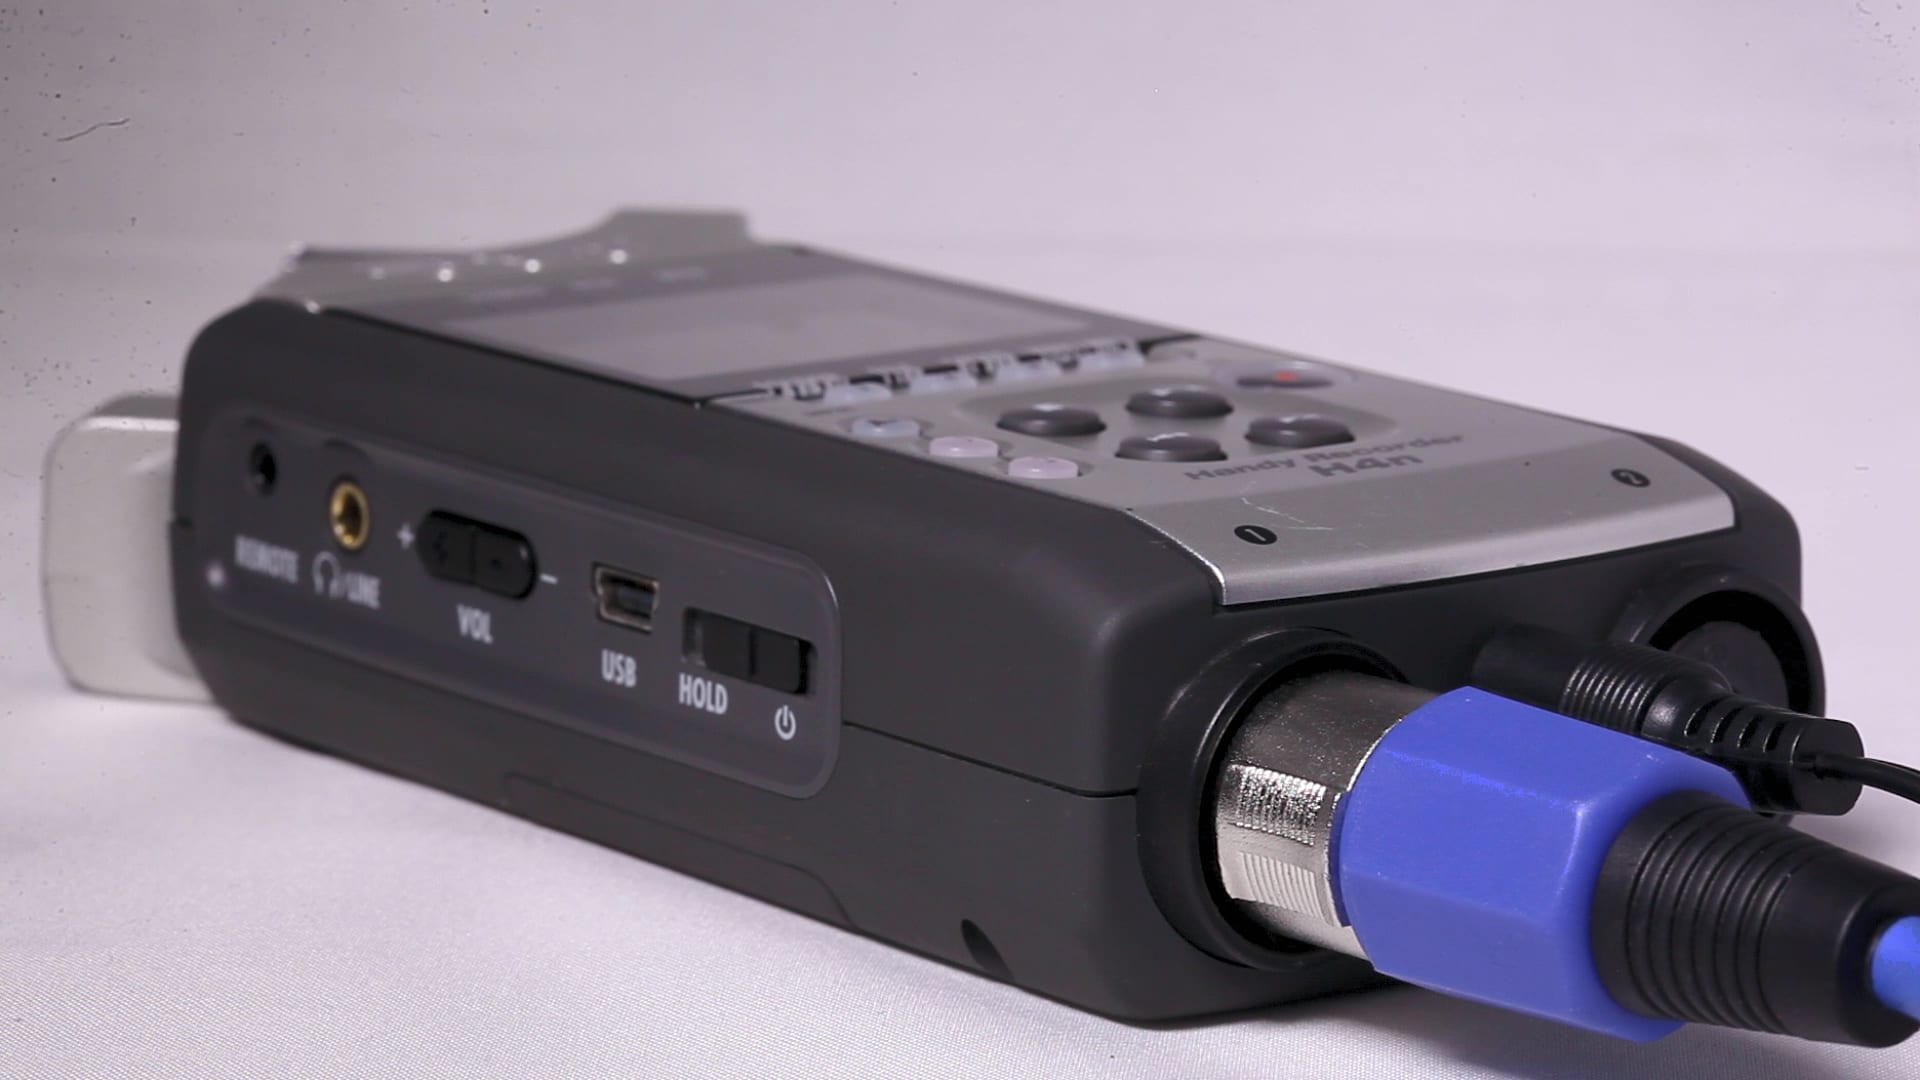
Connecting up the Zoom H4n
Connect the XLR to Input 1 on the Zoom H4n
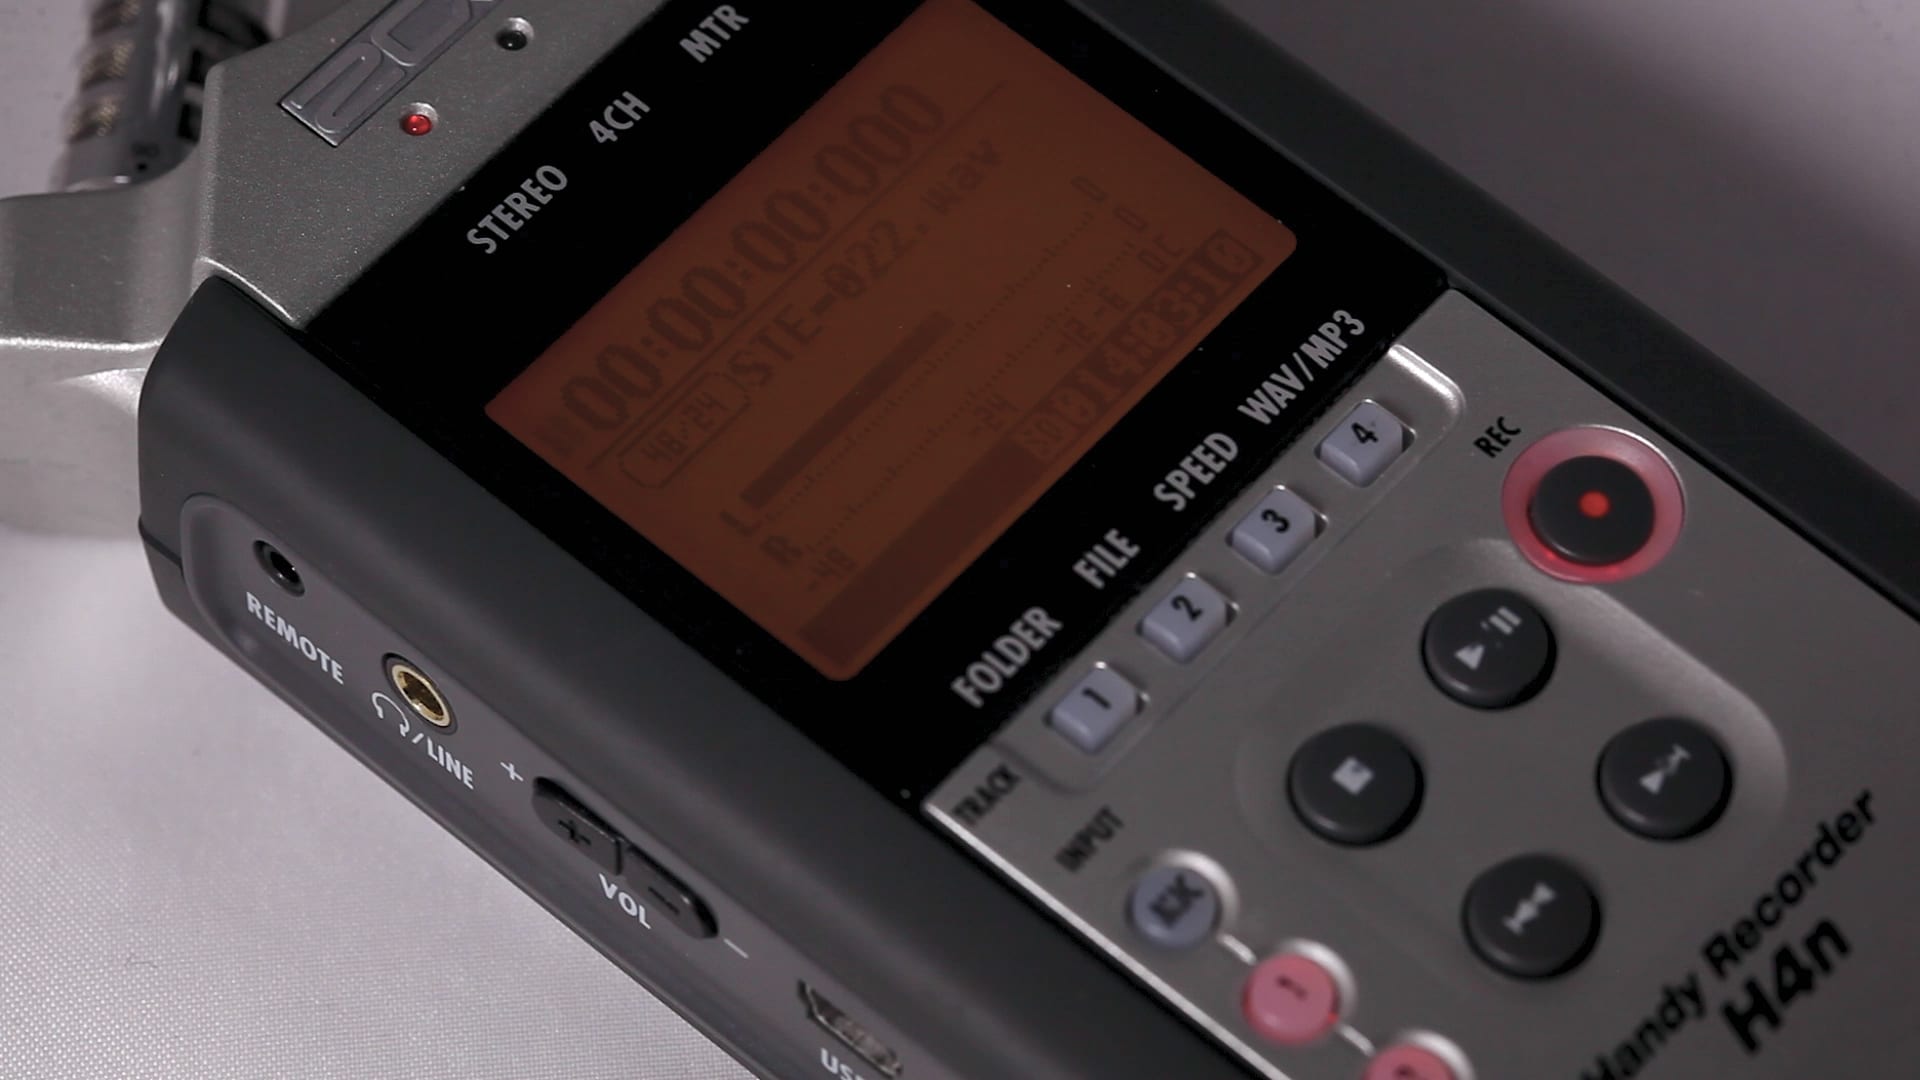
Testing the audio level on the Zoom H4n
Press record on the H4n to test the audio level of the microphone. Adjust the audio level so it doesn’t clip
[su_heading style=”flat-dark” size=”30″ margin=”0″]EQUIPMENT USED[/su_heading]

[su_heading style=”flat-dark” size=”30″ margin=”0″]EQUIPMENT USED[/su_heading]